How to Paint an Old Sewing Machine Cabinet, with a Hand-Painted Border on the Drawers
Yes, you can paint an old sewing machine cabinet, and it takes paint well once it is properly prepared. Take the machine head out, degrease, scuff sand, prime, paint in thin coats and seal, after checking its value and keeping paint off the head's decals. My ten ways of reusing an old sewing machine covers what it could become; this is the how-to, plus a painted drawer border.
You need screwdrivers, a helper, a lead test kit, sugar soap (a TSP substitute in the US), sanding sponges in 120, 180 and 220 grit, a dust mask (and a P100 or FFP3 respirator if the lead test is positive), a shellac-based or oil-based stain-blocking primer, water-based furniture paint and clear topcoat, a synthetic brush and a foam roller. The iron base adds a wire brush, fine steel wool, metal primer and spray paint; the border, a chalk pencil, tracing paper, two artist's acrylics and a liner brush. Allow a week, working in short sessions between drying times.
Before you paint: check what you have
Singer says the serial number is on the bed of treadle and hand-crank machines, while older electric Singers usually carry two letters and six numbers on the right-hand side. ISMACS, the collectors' society, has dating tables. Singer does not appraise machines and ISMACS says valuation needs a hands-on assessment, so ask a local sewing machine or antique dealer. A working machine with bright decals and original drawers may be better sold intact. Either way, keep the head out of this project: paint, solvent and scrubbing ruin decals.
How to paint a sewing machine cabinet, step by step
Step 1: Take the machine head out, with two people
Unplug an electric machine. If a motor or knee lever is wired into the cabinet, photograph the connections and undo them at the terminals rather than cutting. Take the controller and its wiring out before you wash anything, and have cracked or sticky old wiring replaced by a sewing machine technician rather than refitting it. On a treadle, slip the belt off the hand wheel.
Slacken any thumbscrew catch holding the head down, tilt the head back, and loosen (without removing) the grub screw in each hinge socket under the back of the bed. One person steadies the head while the other lifts it up and towards themselves, off the hinge pins. A full-size cast iron head usually weighs 11 to 16kg and the hinges pinch, so set it straight down on a folded towel on a low, solid surface.
Step 2: Test old paint for lead before you sand
Old paint can contain lead, especially before the late 1970s (1992 in the UK), so test every layer you will disturb, the iron base included. If it is positive, or you cannot rule it out, never dry sand, power sand or heat-strip it, indoors or out. Mist the surface before any scraping, work over plastic sheeting, and prefer a liquid deglosser to sanding so the old paint stays sealed under primer. Wear a P100 or FFP3 respirator, keep children and anyone pregnant away, and clean up with damp cloths and a HEPA vacuum. For a lot of damaged paint, use a professional.
Step 3: Clean and degrease, especially round the machine opening
Remove the drawers and pulls, labelling each drawer's position. Wash everything with sugar soap on a well-wrung cloth. Wood under an oiled machine holds oil round the opening and runners, where paint will not stick, so wash there twice, rinse, and dry overnight. Never flood old veneer; water lifts it.
Step 4: Glue loose veneer, then scuff the old varnish
Most of these cabinets are veneered. Glue lifting edges with wood glue, weight them overnight, and fill chips with wood filler, levelled with 120 grit. If the lead test was positive, skip the sanding and use a liquid deglosser as in Step 2. Otherwise scuff, rather than strip: 180 or 220 grit over every surface until the shine goes, lightly on edges where veneer wears through. Wear a dust mask (FFP2 or N95 at least) even after a negative lead test. On carved legs a liquid deglosser is easier; many are flammable, so keep flames and pilot lights away as with the primer, follow the label, wear gloves and ventilate. Vacuum, then wipe with a barely damp cloth.
Step 5: Prime with a stain-blocking primer
Oak tannins, old mahogany stain and machine oil can bleed through water-based paint as yellow or pink blotches. A shellac-based primer blocks them; an oil-based stain blocker does too, more slowly. Shellac primer is highly flammable and its vapour can ignite at room temperature, so keep flames, pilot lights, heaters and cigarettes away, and work outdoors or with a through-draught. Wear gloves and clean brushes with methylated spirits (denatured alcohol). With an oil-based blocker, clean up with white spirit and lay used rags flat outdoors until stiff and dry before binning them. Apply two thin coats, recoating when the tin says, then rub very lightly with 220 grit.
Step 6: Paint in thin coats
Use water-based furniture, cabinet or trim paint in satin or eggshell, which takes knocks better than wall emulsion; chalk-style paint works but must be sealed. Brush the mouldings and roll the flat panels. Apply two or three thin coats, following the recoat time on the tin. Under a border, a quiet base works best: cream, soft grey, a muted green.
How to paint the cast iron treadle base
Step 7: Remove the rust, prime, and keep moving parts clear
Unscrew the wooden top from the frame and work outdoors in gloves, eye protection and a dust mask. If the frame's old paint tests positive for lead, do not wire brush it: clean it gently and leave it, or ask a professional. Otherwise remove dirt and loose rust with a wire brush, then fine steel wool. Heavier rust loosens under a rag soaked in equal parts white vinegar and water; check hourly and stop by eight hours, as vinegar etches the metal. Rinse and dry every crevice at once; bare iron rusts fast.
Mask the moving parts: treadle pivots, pitman rod joints, wheel bearings and belt groove. Spray a rust-inhibiting metal primer, then three or four light coats of colour, which pool in the scrollwork far less than one heavy coat. Unmask, oil each pivot with sewing machine oil, and work the treadle.
How to paint a border on the drawers
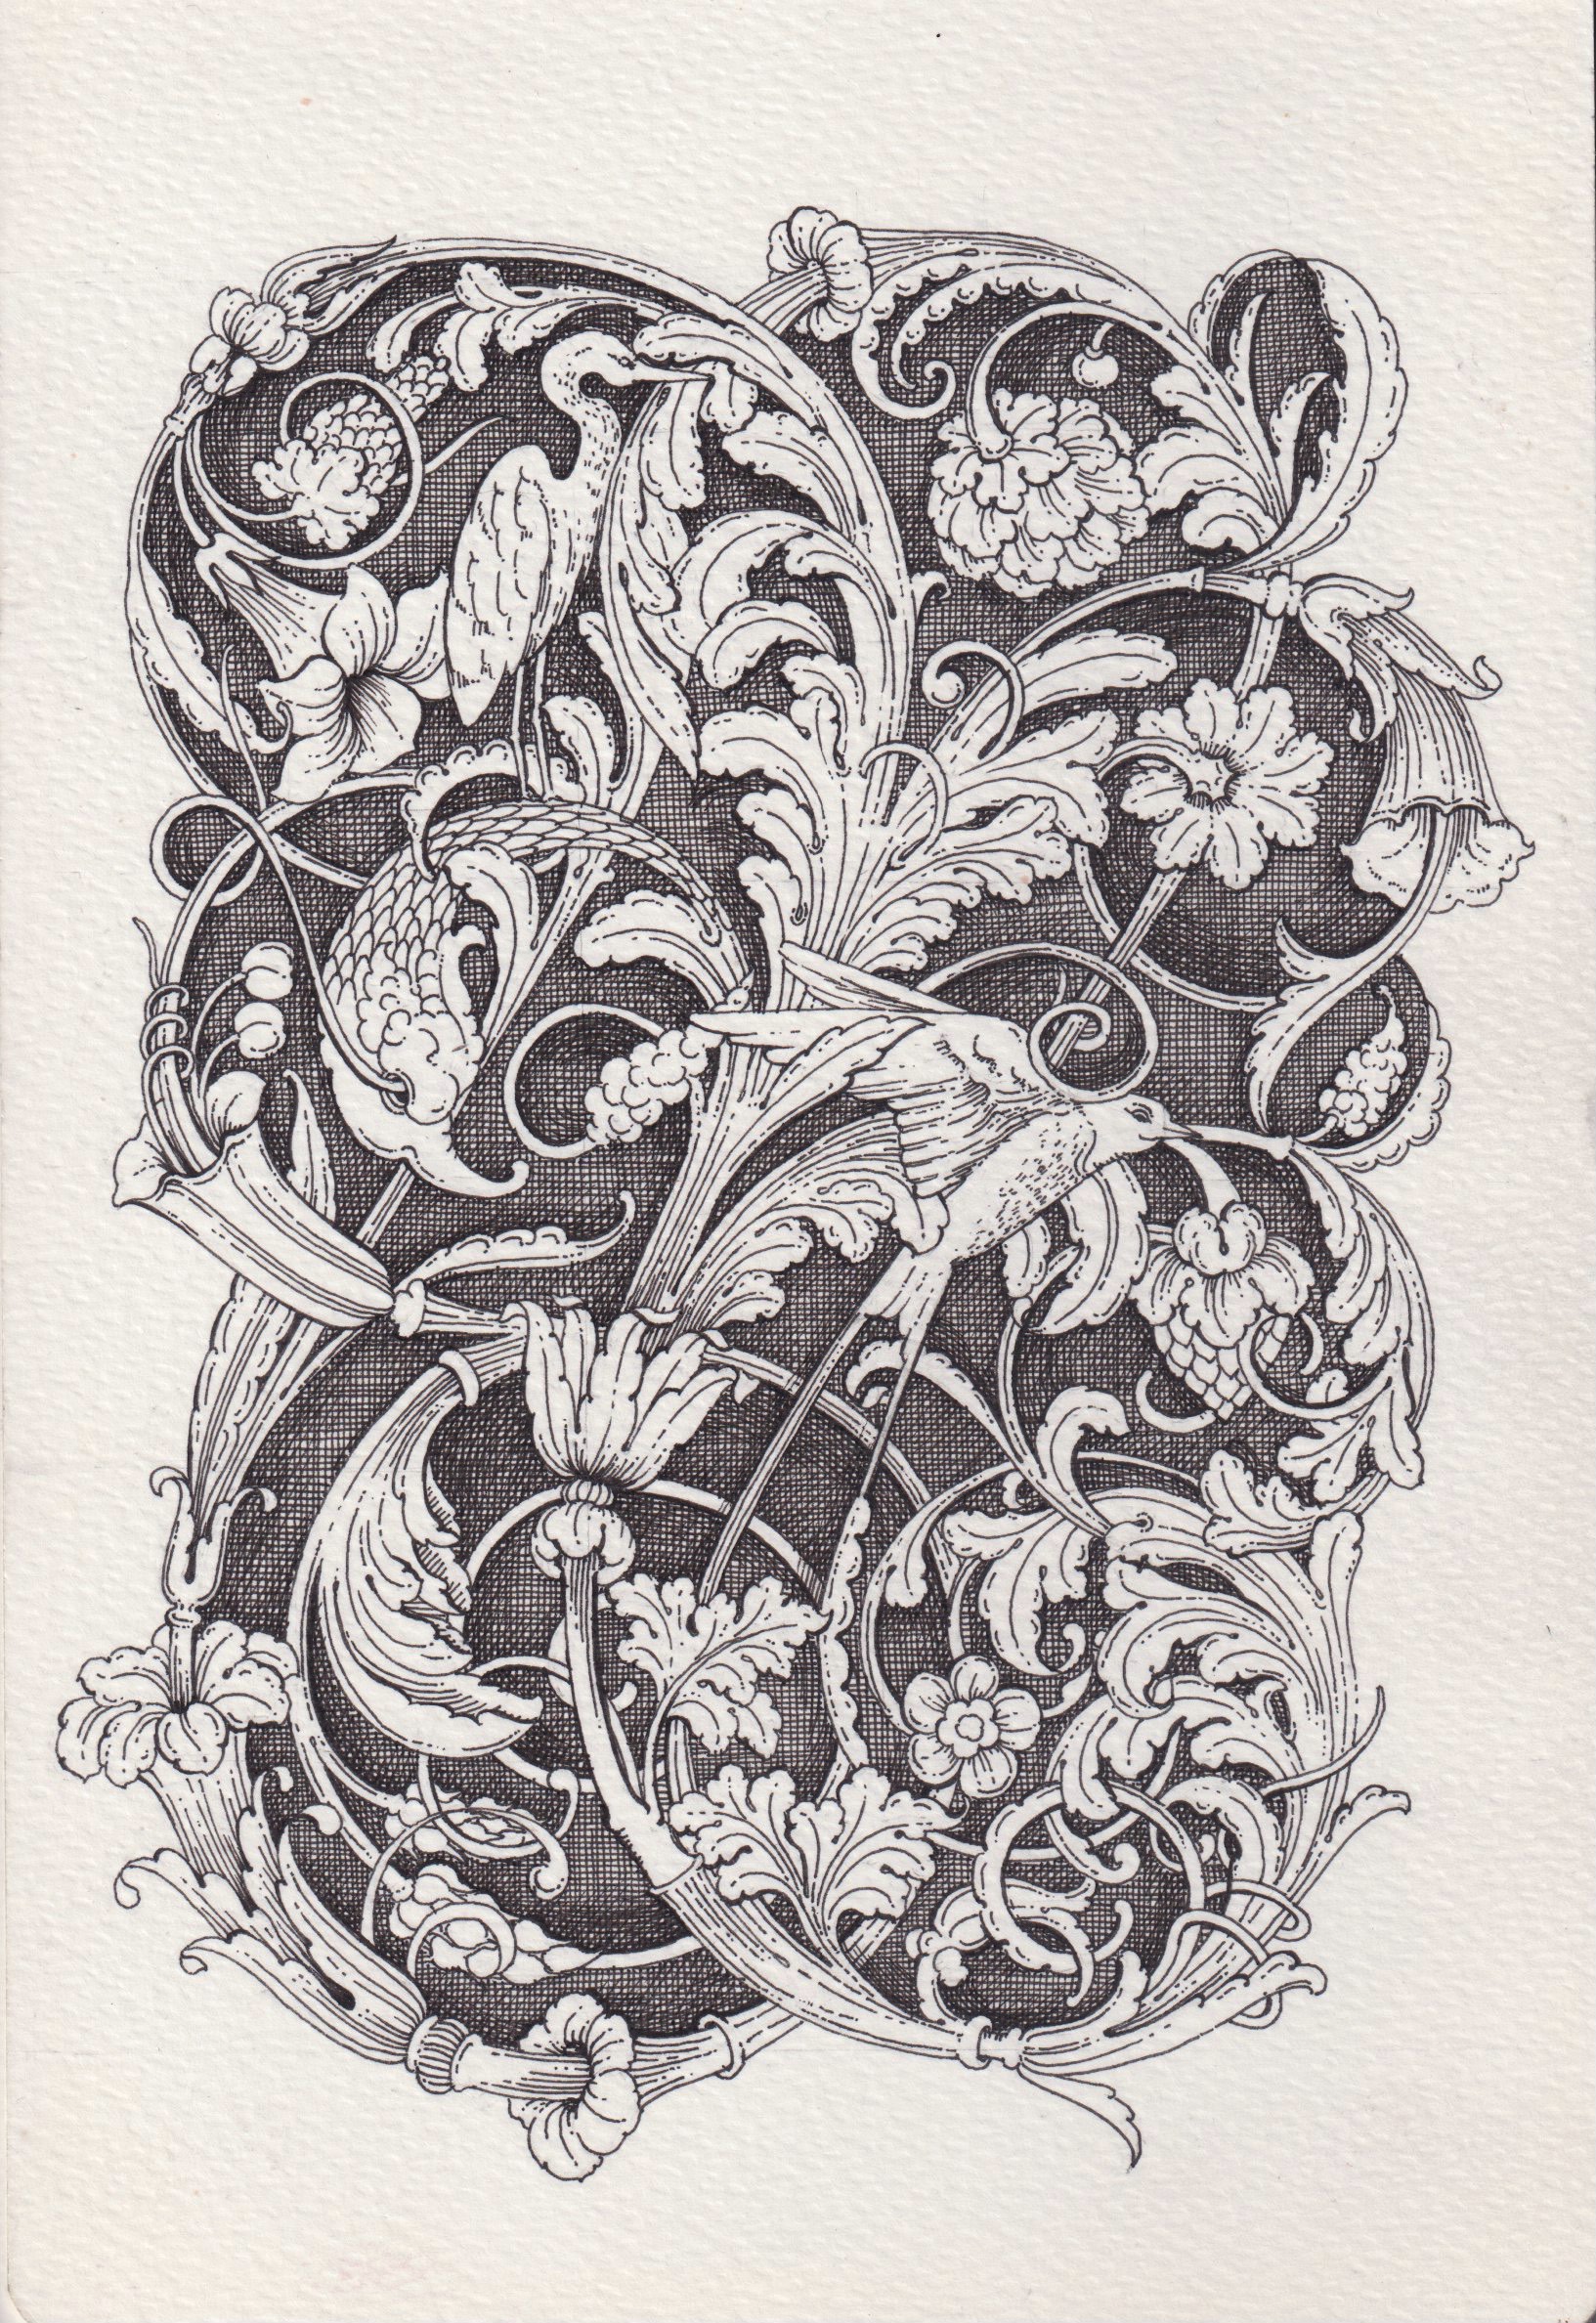
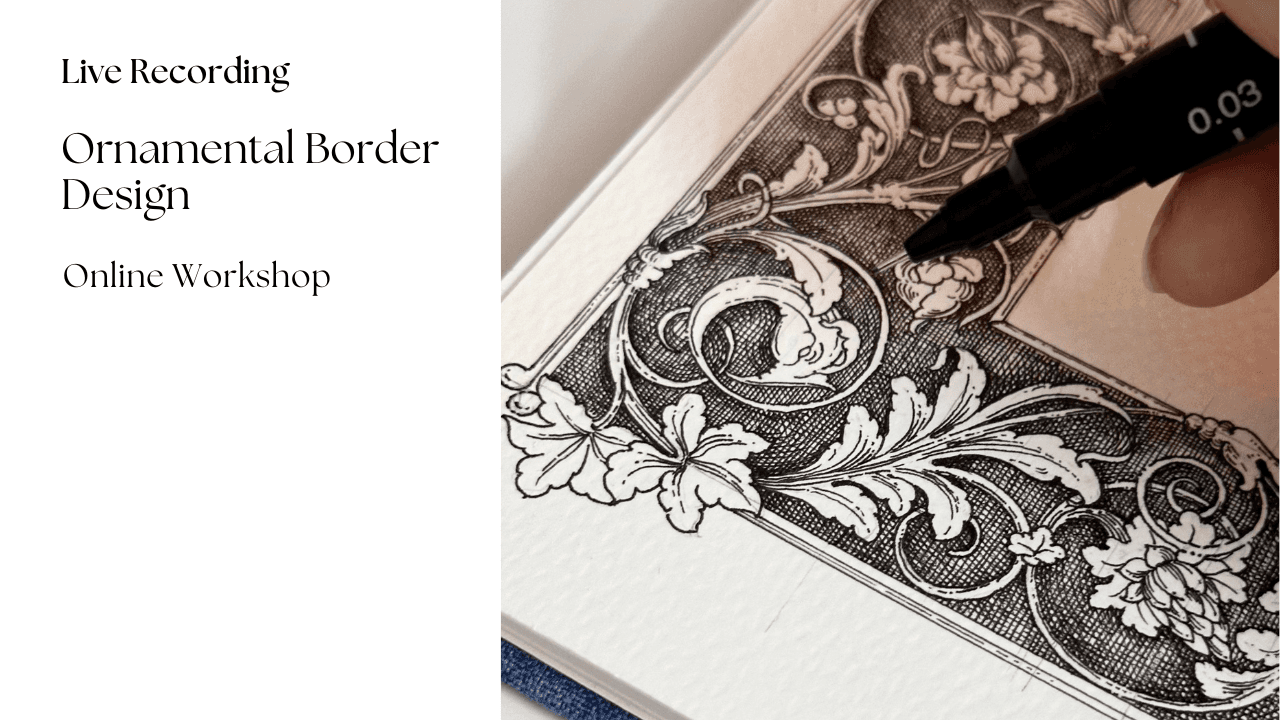
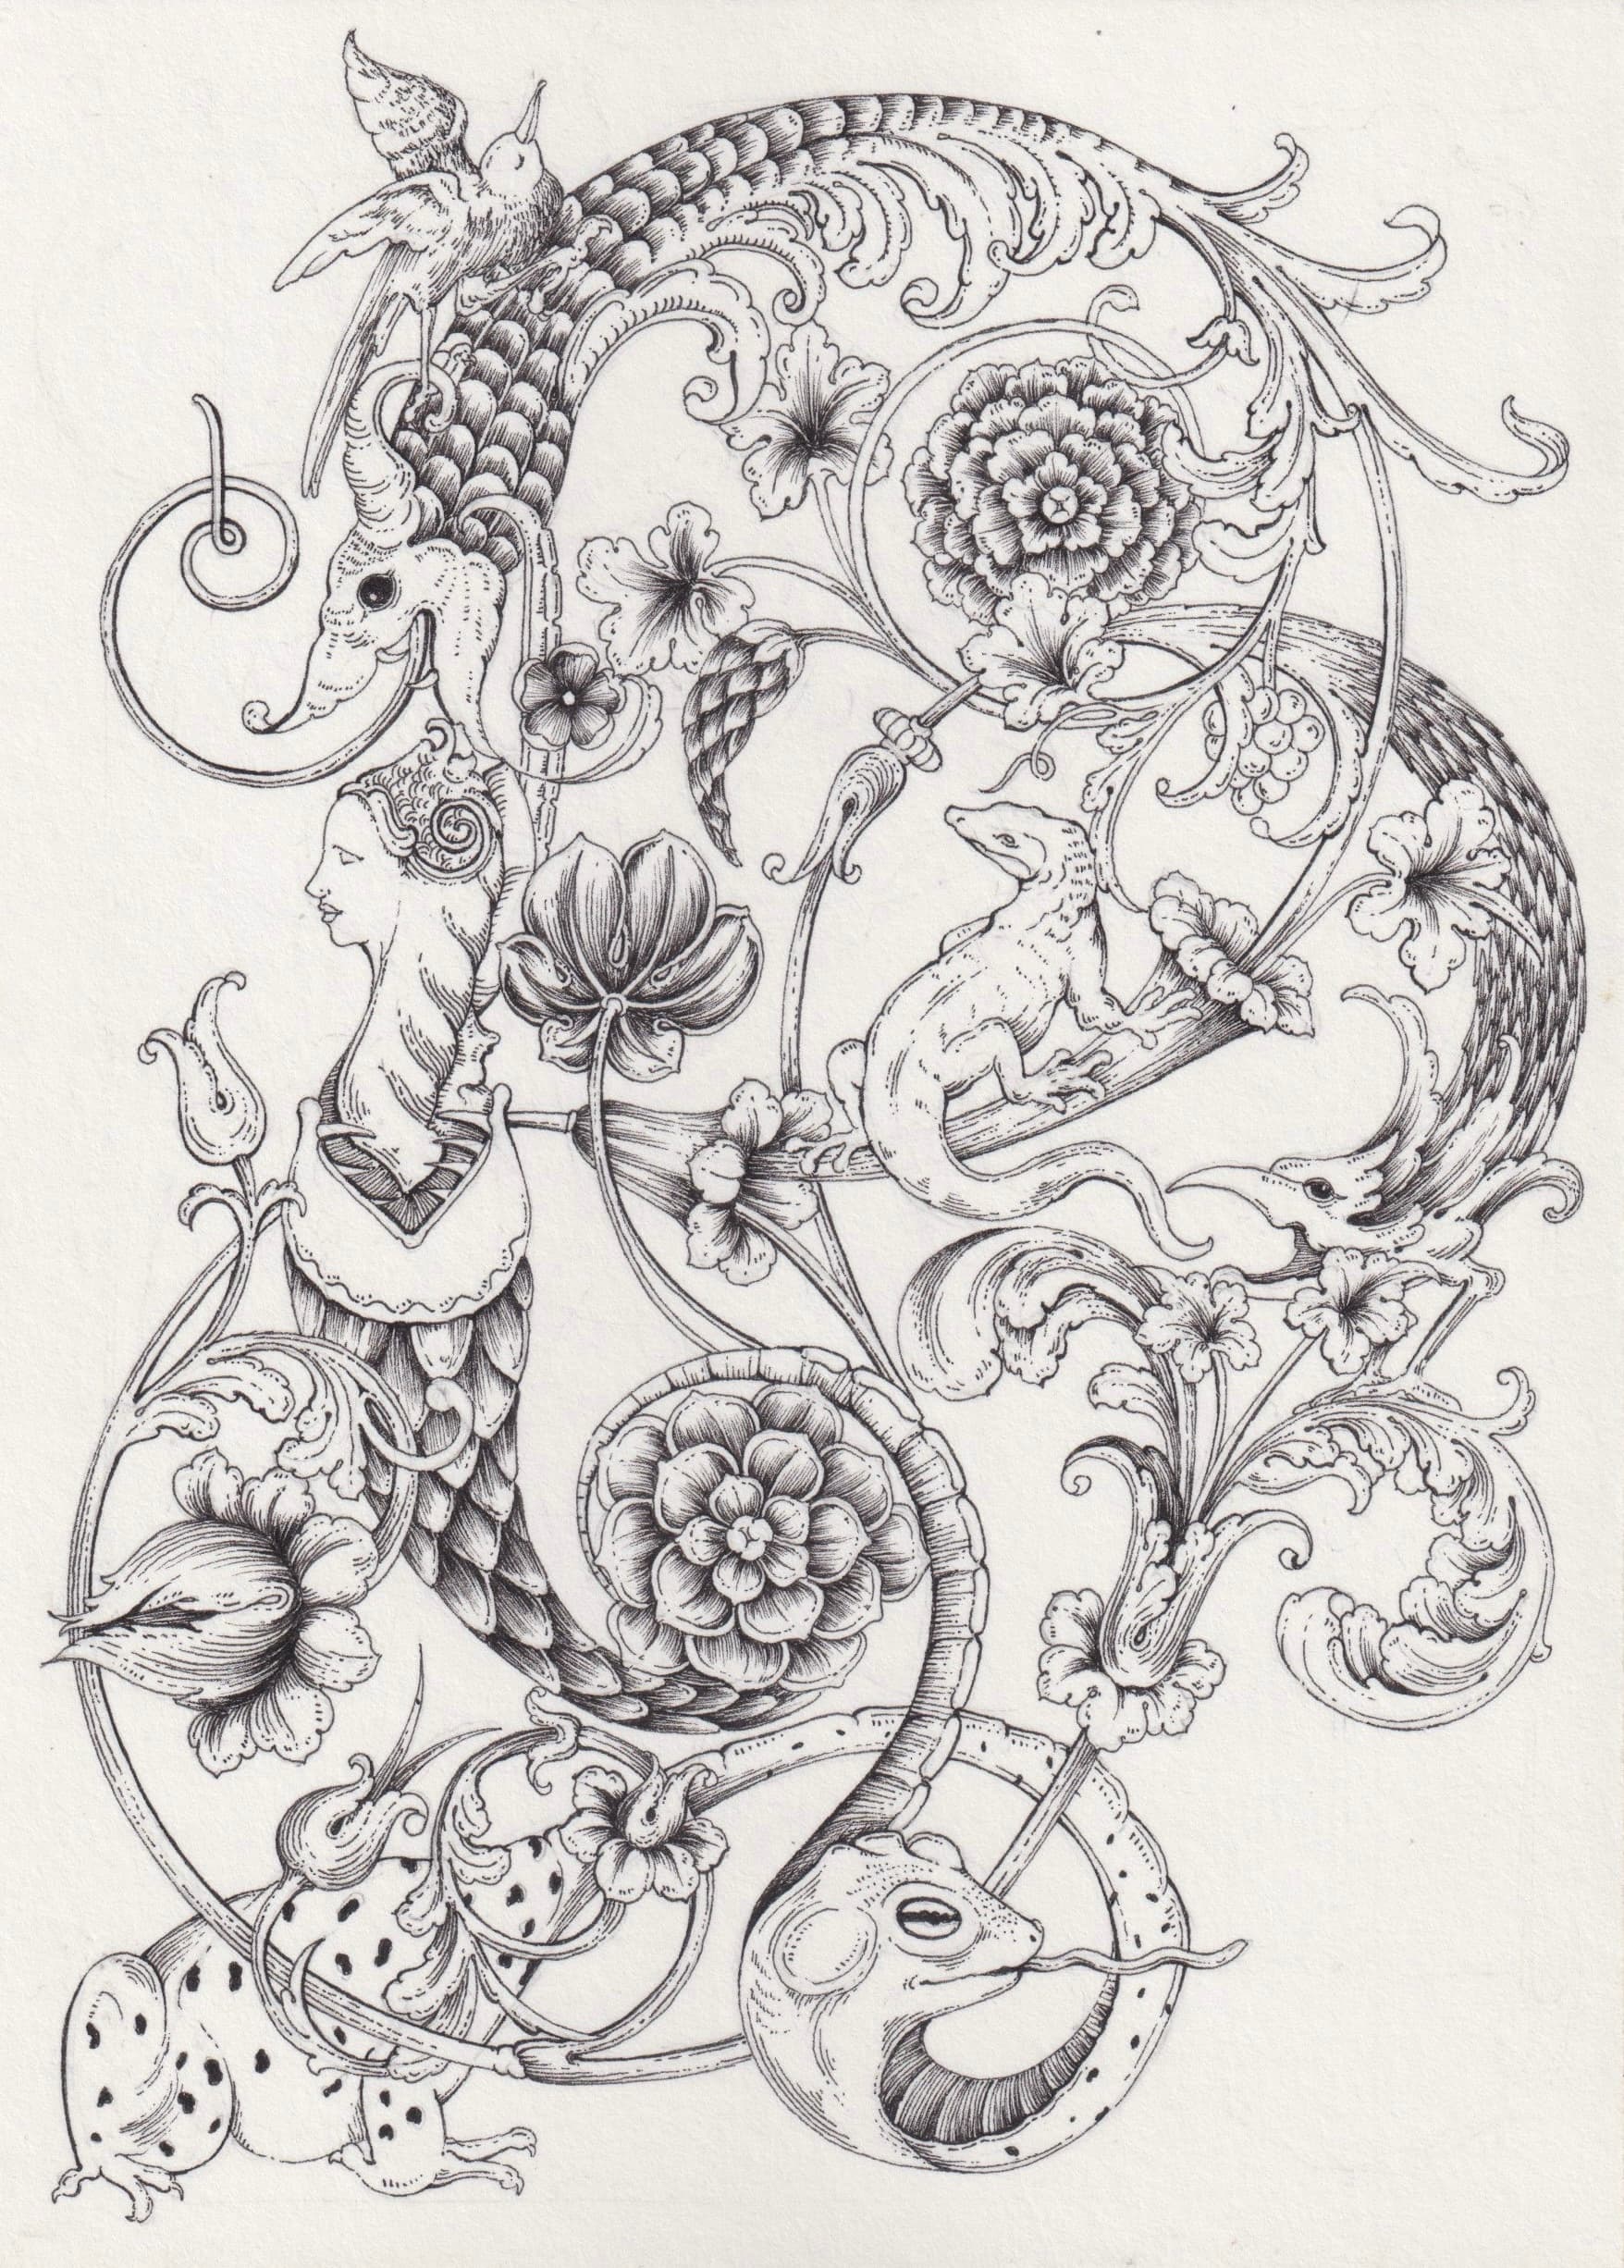
Painted furniture ornament is laid out exactly like drawn ornament. The flourishes on old furniture are the scrolls and rosettes in my beginner's guide to ornamental art, planned from centre lines. Let the base paint dry for at least a day.
Step 8: Measure each panel and draw its centre lines
Lay the drawer flat. Mark the midpoint of each edge and join opposite marks with a ruler and a chalk or watercolour pencil, which wipes off with a damp cloth. Rule a line 1.5 to 2cm in from the edge as the border's outer limit.
Step 9: Plan one quarter on paper, then mirror it
Trace the panel and its centre lines onto tracing paper. Draw one quarter of the design until the corner turns cleanly and meets both centre lines. Flip the tracing for the mirrored quarter, then repeat for the other half: the corners match because they are the same drawing. Transfer with wax-free transfer paper, or soft pencil rubbed over the back.
Step 10: Choose a motif that suits the panel
A square panel, or the middle of the lid, suits a rosette. Draw light circles from the centre with a compass, or a card strip with pencil holes held at the centre. The centre lines and two diagonals give eight segments; repeat one petal in each, as in drawing a floral rosette.
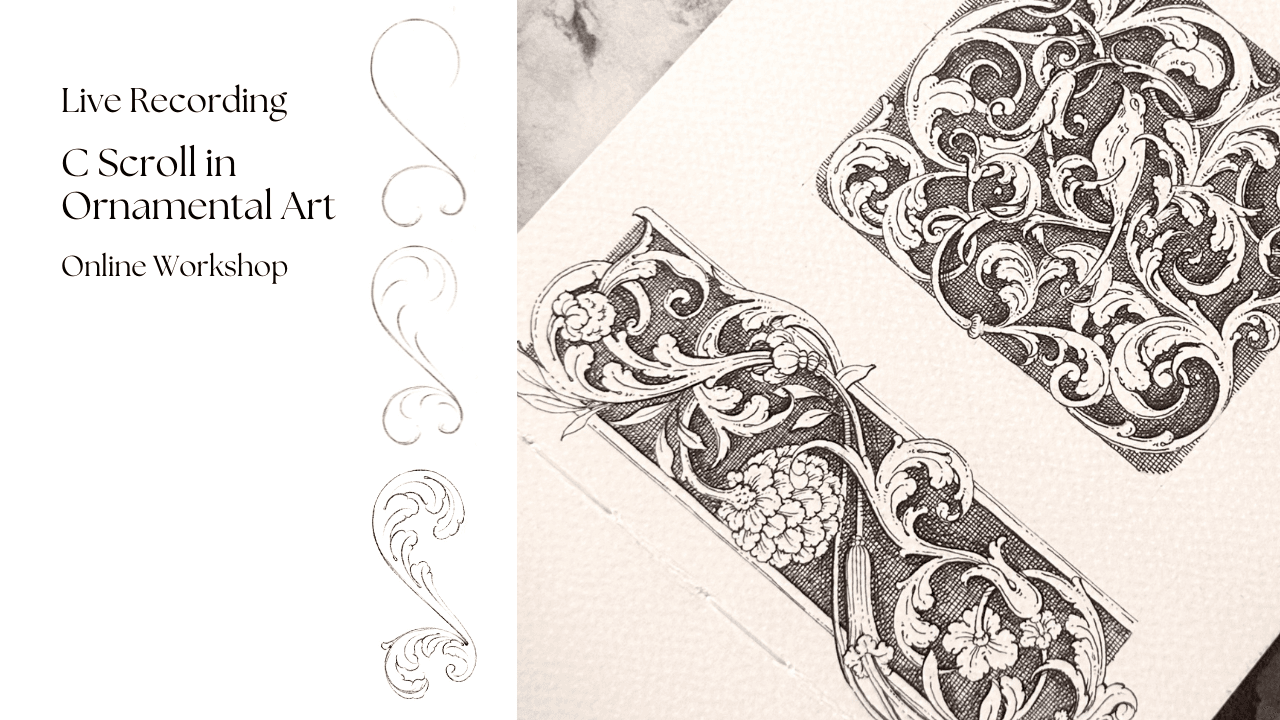
A long drawer front suits mirrored scrolls: a small bud at the centre, a C scroll out to each side, and a smaller scroll off the back of each, turning the same way for a running movement or the opposite way for a settled one. The C scroll workshop practises those same-direction and reverse-direction combinations. Leave bare base colour round the design.
Step 11: Paint in two colours, with highlight, mid-tone and shadow
Choose two colours that sit well together, a blue and a green, or terracotta and ochre, in artist's acrylics. Mix three values of each: the colour itself as the mid-tone, lightened with base colour or white for the highlight, and deepened with raw umber or a darker pigment of the same colour (Prussian blue for a blue) for the shadow. Leave out black, and keep the light at top left on every drawer.
Block in shapes with the mid-tone, add shadow where a scroll turns under and on the side away from the light, then fine highlights on the edges facing it. For outlines, thin the paint to single cream and use a liner brush, turning the drawer rather than your wrist. A few line confidence drills on paper first help. Lift wet mistakes with a damp cotton bud, and wait 24 hours before sealing.
A studio note: try the motif once on the back of a drawer first. Paint behaves differently on primer than on paper, and one trial shows how far to thin it.
Seal it last
Step 12: Topcoat everything you will touch
Brush a water-based clear topcoat over everything, ornament included; oil-based varnish yellows. Stir, never shake, and lay thin coats in single strokes without reworking the motif. Between coats, sand lightly with 220 grit (not steel wool, whose fibres rust under water-based finishes), but over the motif skip the sanding or use a light pass of 320 to 400 grit, or you will cut through the highlights. Three coats on the top, two elsewhere. Full hardness takes one to three weeks, so keep hot mugs and plant pots off meanwhile.
Common mistakes, and how to fix them
- The paint peels round the machine opening. Oil was left in the wood. Sand back, degrease twice, spot-prime with shellac primer and repaint.
- Yellow or pink stains come through. Tannin or old stain is bleeding. Seal the marks with shellac primer, then repaint.
- The border corners do not meet. Working round from one corner drifts. Draw one quarter from the centre lines and mirror it.
Where a painted border can lead
A drawer border is real ornament: construction lines, mirrored scrolls, three values of a colour. If you enjoyed it, these courses take it further on paper; they do not cover furniture preparation, primers or sealing.
Colouring Acanthus: Fundamentals looks at how highlights, mid-tones and shadows work as a group to create depth, then colours a traditional acanthus scroll in two harmonious shades of blue and green. Connecting Scrolls: Flow & Rhythm plans movement inside a square framework, connecting C and S scrolls and managing negative space, a drawer front in miniature. Floral Rosette in Ornamental Art builds the rosette from a simple circular structure. All three sit inside the OB Art Circle.
A few questions I often get
Is an old sewing machine cabinet worth anything before I paint it?
It can be. Value depends on make, model, age, working order, the decals and original cabinet and drawers. Date it with the ISMACS serial tables, then have a local sewing machine or antique dealer see it in person; Singer does not appraise machines.
How do you remove an old sewing machine from its cabinet?
Unplug it, disconnect any wiring to the cabinet at the terminals, and tilt the head back. Loosen the set screws above the hinges, then have two people lift the head up and off the hinge pins; a full-size cast iron head usually weighs 11 to 16kg.
Can you paint the cast iron treadle base?
Yes. After a lead test, remove the rust, dry the iron at once, then apply metal primer and light coats of spray paint, masking the pivots and bearings and oiling them afterwards. A sound original finish may need only cleaning and wax.
Comments
Loading…