A Beginner's Guide to Ornamental Art
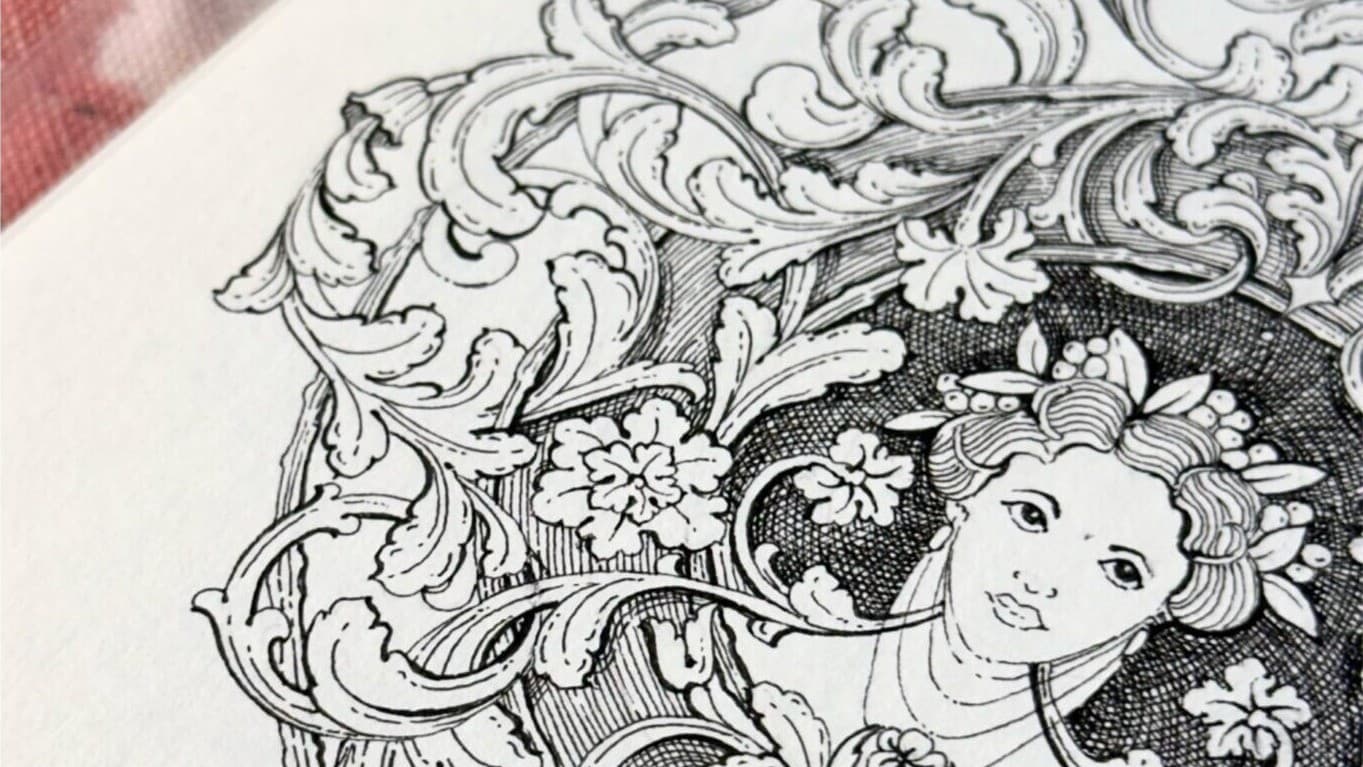
Every few weeks someone writes to me with the same question: I love the look of this work, but where do I even start? This post is my answer, a proper beginner's guide to ornamental art. No history lecture and no thirty item shopping list. Just what ornamental art actually is, the handful of motifs that matter, the order I would learn them in, and the few materials you genuinely need.
I am a self-taught illustrator, so everything here is a path I pieced together slowly, with plenty of wrong turns. You get to skip those.
What ornamental art actually is
Ornamental art is decorative design built from repeating natural forms, most often plants. It is the visual grammar behind so much of the made world: the carved capitals on classical columns, the flourishes on old furniture, the decorated title pages of old books, wallpaper, iron gates, plaster ceilings. Once you start noticing it, you cannot stop. The scrolling leaf on a picture frame and the border around an old certificate are speaking the same language.
And it is a language in a real sense. Ornament is not drawn from life. It is composed from a small vocabulary of forms, arranged by rules of rhythm, balance and flow. Learn the vocabulary and the rules, and you can generate endless designs of your own.
The motifs you will meet again and again
Almost everything in classical ornament is built from a small family of motifs:
- The acanthus leaf: a stylised, deeply lobed leaf, and the single most important form in Western ornament. If ornament had an alphabet, the acanthus would be its first letter.
- The S scroll: a stem curved like a long letter S, the spine that gives a design movement and direction.
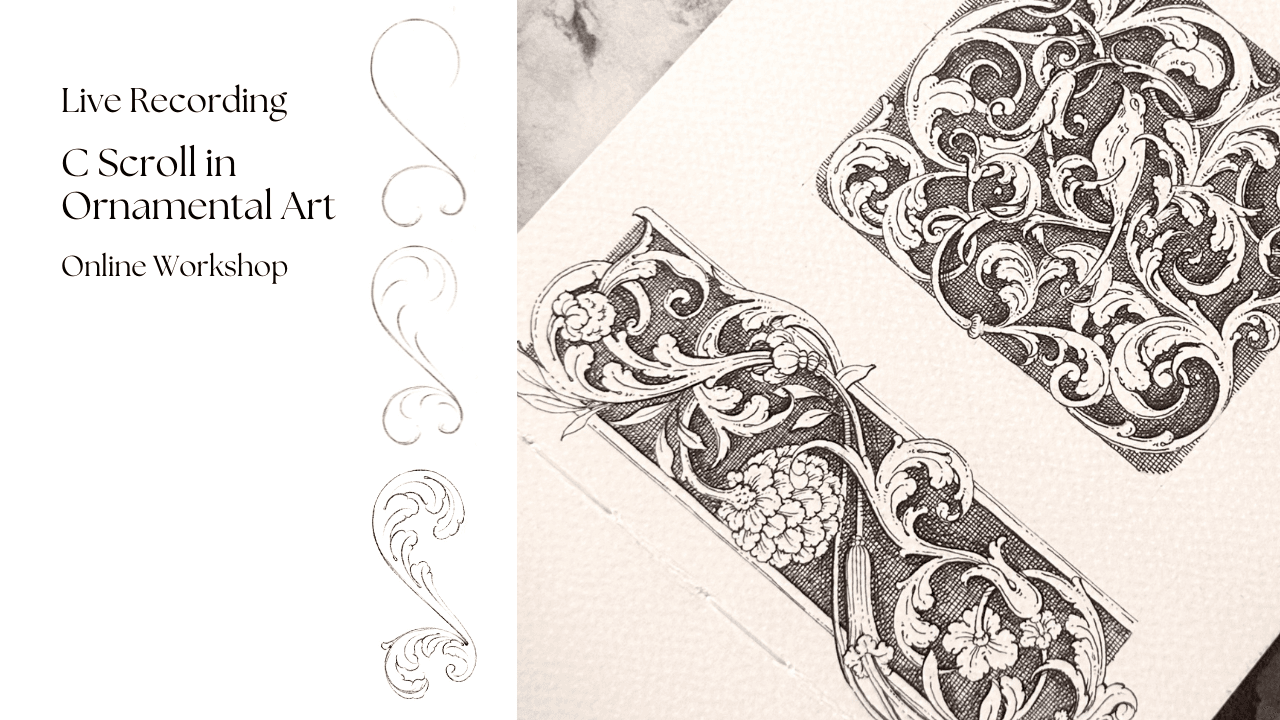
- The C scroll: the S scroll's partner, a shorter open curve used to connect, support and turn corners.
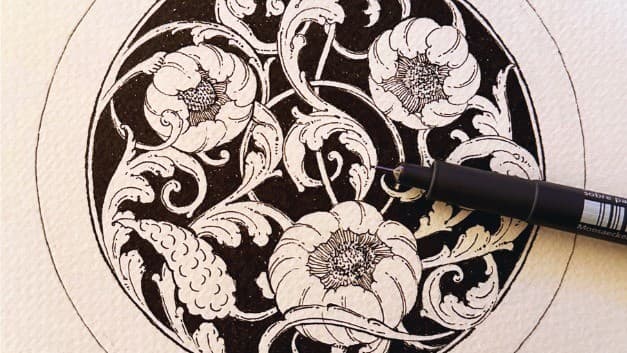
- Rosettes: circular designs where leaves or petals radiate from a centre, like a formal flower seen straight on.
- Borders: a motif repeated along a strip to frame a page, a panel or an object.
- Cartouches: ornate decorative frames, often scrollwork wrapped around a central space that holds a name, a monogram or an image.
That is the whole cast. Every grand piece of ornament you have ever admired is these few characters, combined with care.
Why ornamental art suits beginners
Here is the part I wish someone had told me earlier: ornament is constructed, not observed. When you draw a portrait or a landscape you are chasing a likeness, and you need a reference in front of you the whole time. Ornament works differently. An acanthus leaf is built on a curved spine, with lobes placed in a known rhythm and edges cut in a known way. You learn rules, then apply them.
That one difference is why ornament is kind to beginners. You always know what to practise next, because the rules tell you. You can see exactly where a drawing went wrong, because you can check it against the rule instead of squinting at a photo. And you can draw anywhere, in a notebook on a train, with nothing to copy from. Progress becomes measurable in a way that observational drawing rarely is.
A sensible order to learn in
You can wander into ornament from any direction, but this order saves the most frustration.
1. Line control before anything else
Ornament is unforgiving of a shaky line, so start here. Fill a page with straight lines, each drawn in one confident stroke. Then fill pages with C curves and S curves, always pulling the stroke towards you and rotating the paper rather than twisting your wrist. Ten to fifteen minutes a day does more than an occasional long session. If you want this stage taught properly, my Basics of Drawing course walks through it stroke by stroke.
2. The acanthus leaf
Once your curves are steady, learn the acanthus. Everything else in ornament leans on it, so time spent here repays itself for years. You will learn to set a spine, hang the lobes off it in rhythm, and shape the cuts and eyes (the small tucked openings where one lobe folds over the next) that give the leaf its character. This is the heart of my Fundamentals of Acanthus Leaf course, and where I send beginners once their curves are steady.
3. Scrolls
Next comes the S scroll, along with its companion the C scroll. Scrolls are the skeleton of ornamental composition: the leaf gives you the flesh, the scroll gives you the bones. Drawing a clean spiral that tightens evenly towards its centre is a genuine skill, and I teach it step by step in S Scroll in Ornamental Art.
4. Compositions: rosettes and borders
With leaves and scrolls in hand, you can start composing. Rosettes teach radial symmetry: divide a circle into equal segments with a compass and ruler, design one segment, then repeat it around the centre. Borders teach repetition in a line: design one unit, then march it evenly along a strip. Both are wonderfully satisfying, because a modest motif repeated with discipline suddenly looks far grander than the effort that went into it.
A note from my desk: when a long curve wobbles, it is rarely a talent problem. It usually means the movement came from the fingers instead of the arm. Draw the curve from your shoulder, a touch slower, and the line improves the same day.
What you need to start
Very little, and please resist buying more until the pencil stage stops being fun:
- Pencils: an HB for light construction lines and a 2B for darker working lines. Keep construction lines faint so they erase cleanly later.
- An eraser: a kneadable one lifts pencil without shredding the paper surface.
- Fineliners: pigment ink fineliners in three sizes. I reach for 0.1 for fine detail, 0.3 for most linework and 0.5 for bolder outer contours. Pigment ink matters more than the brand: unlike dye ink, it is waterproof once dry and survives erasing.
- Paper: for daily pencil drills, any smooth paper will do, even printer paper. For finished ink work, choose smooth paper of around 200gsm; a smooth surface lets the nib glide, while texture makes fine lines stutter.
- A ruler and a cheap compass: not needed on day one, but essential once you reach rosettes and borders.
One habit worth forming from your first inked drawing: pencil first, ink over the top, then wait until the ink is completely dry before you erase the pencil. A few minutes is usually enough, longer in humid weather. Erase too soon and you will drag grey smears through your linework.
Where to go next
Pick the stage that matches where you are, and stay with it a little longer than feels exciting. Fifteen focused minutes a day beats a three hour Sunday. If you would like company on the way, the OB Art Circle is my membership built for exactly this: monthly live workshops, drills, and a private community where you can post your leaves and scrolls and get gentle, specific feedback. Practising alongside other people is the best cure I know for the drawer full of abandoned sketchbooks.
A few questions I often get
Do I need to be good at drawing before I start?
No. You need patience more than talent. Because ornament is rule based, a careful beginner often overtakes a confident doodler within weeks. Line control is the only true prerequisite, and that is built through drills, not born.
Do I need expensive materials?
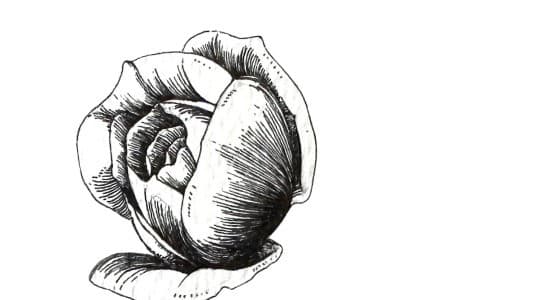
No. A pencil, an eraser and any smooth paper will carry you through the first month. Add the three fineliners when you begin inking. Most of my own finished work is monochromatic pen and ink, which is one of the least expensive ways I know to make serious art.
How long before my acanthus leaves look right?
Expect your first leaves to look stiff. Everyone's do. With short daily practice, a leaf you are quietly proud of usually arrives within a few weeks. The spiral of the scroll tends to take a little longer. Neither is a race.
Can I practise digitally?
Yes, the rules transfer. I still suggest beginning on paper, because the friction of a real nib teaches stroke control faster than glass does. Once the forms are in your hands, draw them anywhere you like.
Comments
Loading…