Easy Watercolour Christmas Cards: Six Designs, Beginner to Ornamental
The easiest way to paint watercolour Christmas cards as a beginner is to pick one simple design, pencil it onto every card first, then paint one colour across the whole batch before starting the next. Keep to two or three colours, let each layer dry, and add white gel pen or gold only at the end. Here are six designs that work this way.
You need 300gsm (140lb) cold-pressed watercolour paper, an HB pencil, a kneaded eraser, masking tape, round brushes in size 6 and size 2, a compass (or a coin and two lids of different sizes), and three colours: a green, a red and a brown or grey. A white gel pen and gold ink or a gold paint pen finish the cards. For ten cards, plan two sittings with drying time between them.
Paper, size and envelopes
Step 1: Size the card to an envelope you can buy
Wherever paper comes in A sizes, make an A6 card (105 by 148mm) for a C6 envelope (114 by 162mm). In the US and Canada, a 5 by 7 inch card fits an A7 envelope (5.25 by 7.25 inches). Leave a few millimetres of room all round.
Step 2: Paint panels on one taped sheet
For a batch, I prefer painting panels. Tape a sheet of watercolour paper to a board along all four edges so it dries flat, with the tape overlapping the paper by no more than 5mm. On A4, pencil four panels of 88 by 128mm with 1cm between them. On a 9 by 12 inch pad sheet, rule two 4.5 by 6.5 inch panels side by side, half an inch apart, for 5 by 7 cards. Leave the tape on until the sheet is dry, then peel it back slowly. Cut the panels out and fix each to a card blank with double-sided tape.
Step 3: Or score and fold your own cards
For a folded A6 card, cut 210 by 148mm. For a folded 5 by 7 card, cut 10 by 7 inches from a 9 by 12 sheet. Paint the front while the card is still flat and taped to a board. Once it is dry, run a bone folder or the back of a butter knife along a ruler on the outside of the fold, then fold and burnish the crease. Heavy paper cracks when folded against the grain, so bend an offcut both ways and fold the way it gives more easily.
The batch method: guides first, one colour at a time
Step 4: Pencil every card before painting any
Line the panels up and draw all the guides in one go: circles, stems, margins. Draw lightly, because watercolour seals graphite into the paper and a heavy line shows through a pale wash for good. Roll the kneaded eraser over each guide until it is barely there.
Step 5: Paint one colour across all the cards, then the next
Mix enough of the first colour for the whole batch in one well. A colour mixed twice never quite matches, and ten cards on a mantelpiece show it. Paint every card, and when that layer is dry, mix the second colour and go round again, with berries and dark accents last. A hair dryer on low helps, held well back and away from the water jar, but never on cards with masking fluid.
A studio note: to tell whether a wash is dry, lay the back of a finger against the edge of the painted area. If the paper feels cool, it is still wet, even when it looks matt.
Step 6: Keep the colours clean
A green, a red and one dark such as burnt umber or Payne's grey cover everything here. Use one jar for rinsing and another for clean water. Stop touching a wash once it loses its shine: going back into half-dry paint lifts colour and leaves hard-edged blooms. If children paint with you, give them paints labelled as safe for children and keep brushes out of mouths. Artist colours are not made for them and some carry hazard warnings, so check the label.
Six designs, from easiest to most ornamental
Step 7: A sprig of winter leaves
Pencil one curved stem about 8cm long, rising from the lower left. Paint it thinly with the tip of the size 6, then add leaves in single strokes: tip down beside the stem, press so the belly spreads, lift as you pull away. Alternate sides and let the leaves shrink towards the tip. Once dry, add clusters of three red berries with the size 2, leaving a speck of bare paper on each.
Step 8: A loose wreath
Draw a circle 6 or 7cm across and mark faint ticks at twelve, three, six and nine o'clock. Paint leaves round the circle with the sprig stroke, all pointing the same way so the wreath seems to turn. Go round every card in pale green first, then, once dry, in a darker green to fill gaps and overlap a few leaves. Put berries at the ticks. Turn the card, not your wrist. This is the scaffolding from my floral rosette tutorial: measure each new element against the guides, never against the last one you drew.
Step 9: A simple bauble
Draw a 5cm circle and add a small cap and a fine thread line. For crisp white snowflakes, draw them now in masking fluid, using an old brush dipped in soapy water or a colour shaper. Never use a good brush: dried fluid does not wash out. Test it on an offcut first, since it can tear soft paper, and check the label if you have a latex allergy. Wait until it feels dry and rubbery rather than cool or soft; fine lines take a few minutes. Do not use the hair dryer, or anything warm, on masked cards: heat fixes the fluid to the paper and it tears when you rub it off.
Wet the circle with clean water, enough to shine but not puddle, and touch a strong red into one side. Leave a pale crescent opposite, which reads as shine. Dry it flat, or the colour slides and dries in a hard line. Then paint a darker band or a row of dots across the middle, and rub any masking fluid away within a few hours of the paint drying.
Step 10: A leaf-and-berry corner border
This small repeat leaves the middle free for a message. Pencil a margin 1cm inside the edge, and design one unit on scrap: a stem following the margin round the corner, about 3cm along each side, with three leaves and a berry cluster at the turn. Paint it top left on every card, then turn each card upside down and paint it again in the new top left. Two corners on a diagonal balance each other.
Step 11: A painted rosette
Draw three circles on one centre with a compass, roughly 1.5cm, 3.5cm and 6cm across. If you trace objects instead, mark the centre first and line each one up against it. Rule a vertical and a horizontal line through the centre and halve each right angle by eye, making eight wedges. Paint a pointed red petal in each wedge, from the small circle to the middle ring. When dry, paint eight green leaves centred on the lines, rising from between the petals to the outer ring and stopping where they meet red. Floral Rosette in Ornamental Art goes further, into dividing the circle, petal rhythm and refining a rosette until it feels balanced.
Step 12: A gold-detailed ornament
Fold scrap paper in half and draw half a hanging ornament against the fold, about 7cm tall: a cap, a rounded body, a pointed drop. Cut it out and unfold it for a symmetrical template to trace on every card. Paint the body in a flat, deep green, darkened with a touch of your dark colour, and let it dry completely, overnight if you can. Then add gold with the size 2 brush or a gold paint pen: bands, dots and a small leaf either side of the cap. Wash the brush in soapy water straight away, as the shellac binder in many drawing inks builds up in the hairs.
Finishing touches: white, gold and envelopes
Step 13: Add white and gold only when the paint is completely dry
Flatten any wavy panels before this step (see the questions below), because pressing a damp card can smudge fresh gel pen or gold. Hold the gel pen upright, draw slowly, and go over the line again once dry, as cold-pressed texture breaks it up. Metallic ink stays wet where it pools, so paint a test dot on an offcut, and stack the cards, with paper between them, only once that dot no longer smudges.
Step 14: Envelopes, and one last check
Try one finished card in its envelope before writing in any of them. For cards you hand over, a matching envelope folds easily from a magazine page, as in my DIY envelopes post. For cards travelling far by post, a sturdy bought envelope is safer.
Common mistakes, and how to fix them
- The colours turn muddy. Too many colours, or too much fiddling. Keep to three, use two jars, and leave a wash alone once it loses its shine.
- The gel pen skips or the gold smudges. The paint was damp, or the pen was tilted. Wait for the cool test, hold the pen upright and go over the line twice.
- Ten cards, ten different wreaths. Draw every circle the same size, pencil all the guides first, and mix each colour once.
Where a card can lead
A card is a very small painting, and it asks what a larger watercolour asks: judging the water on the brush, knowing when to stop, building colour in layers without losing the light of the paper. In the post about the first time I touched watercolours, back in school, I describe using them like poster colours, with far too little water.
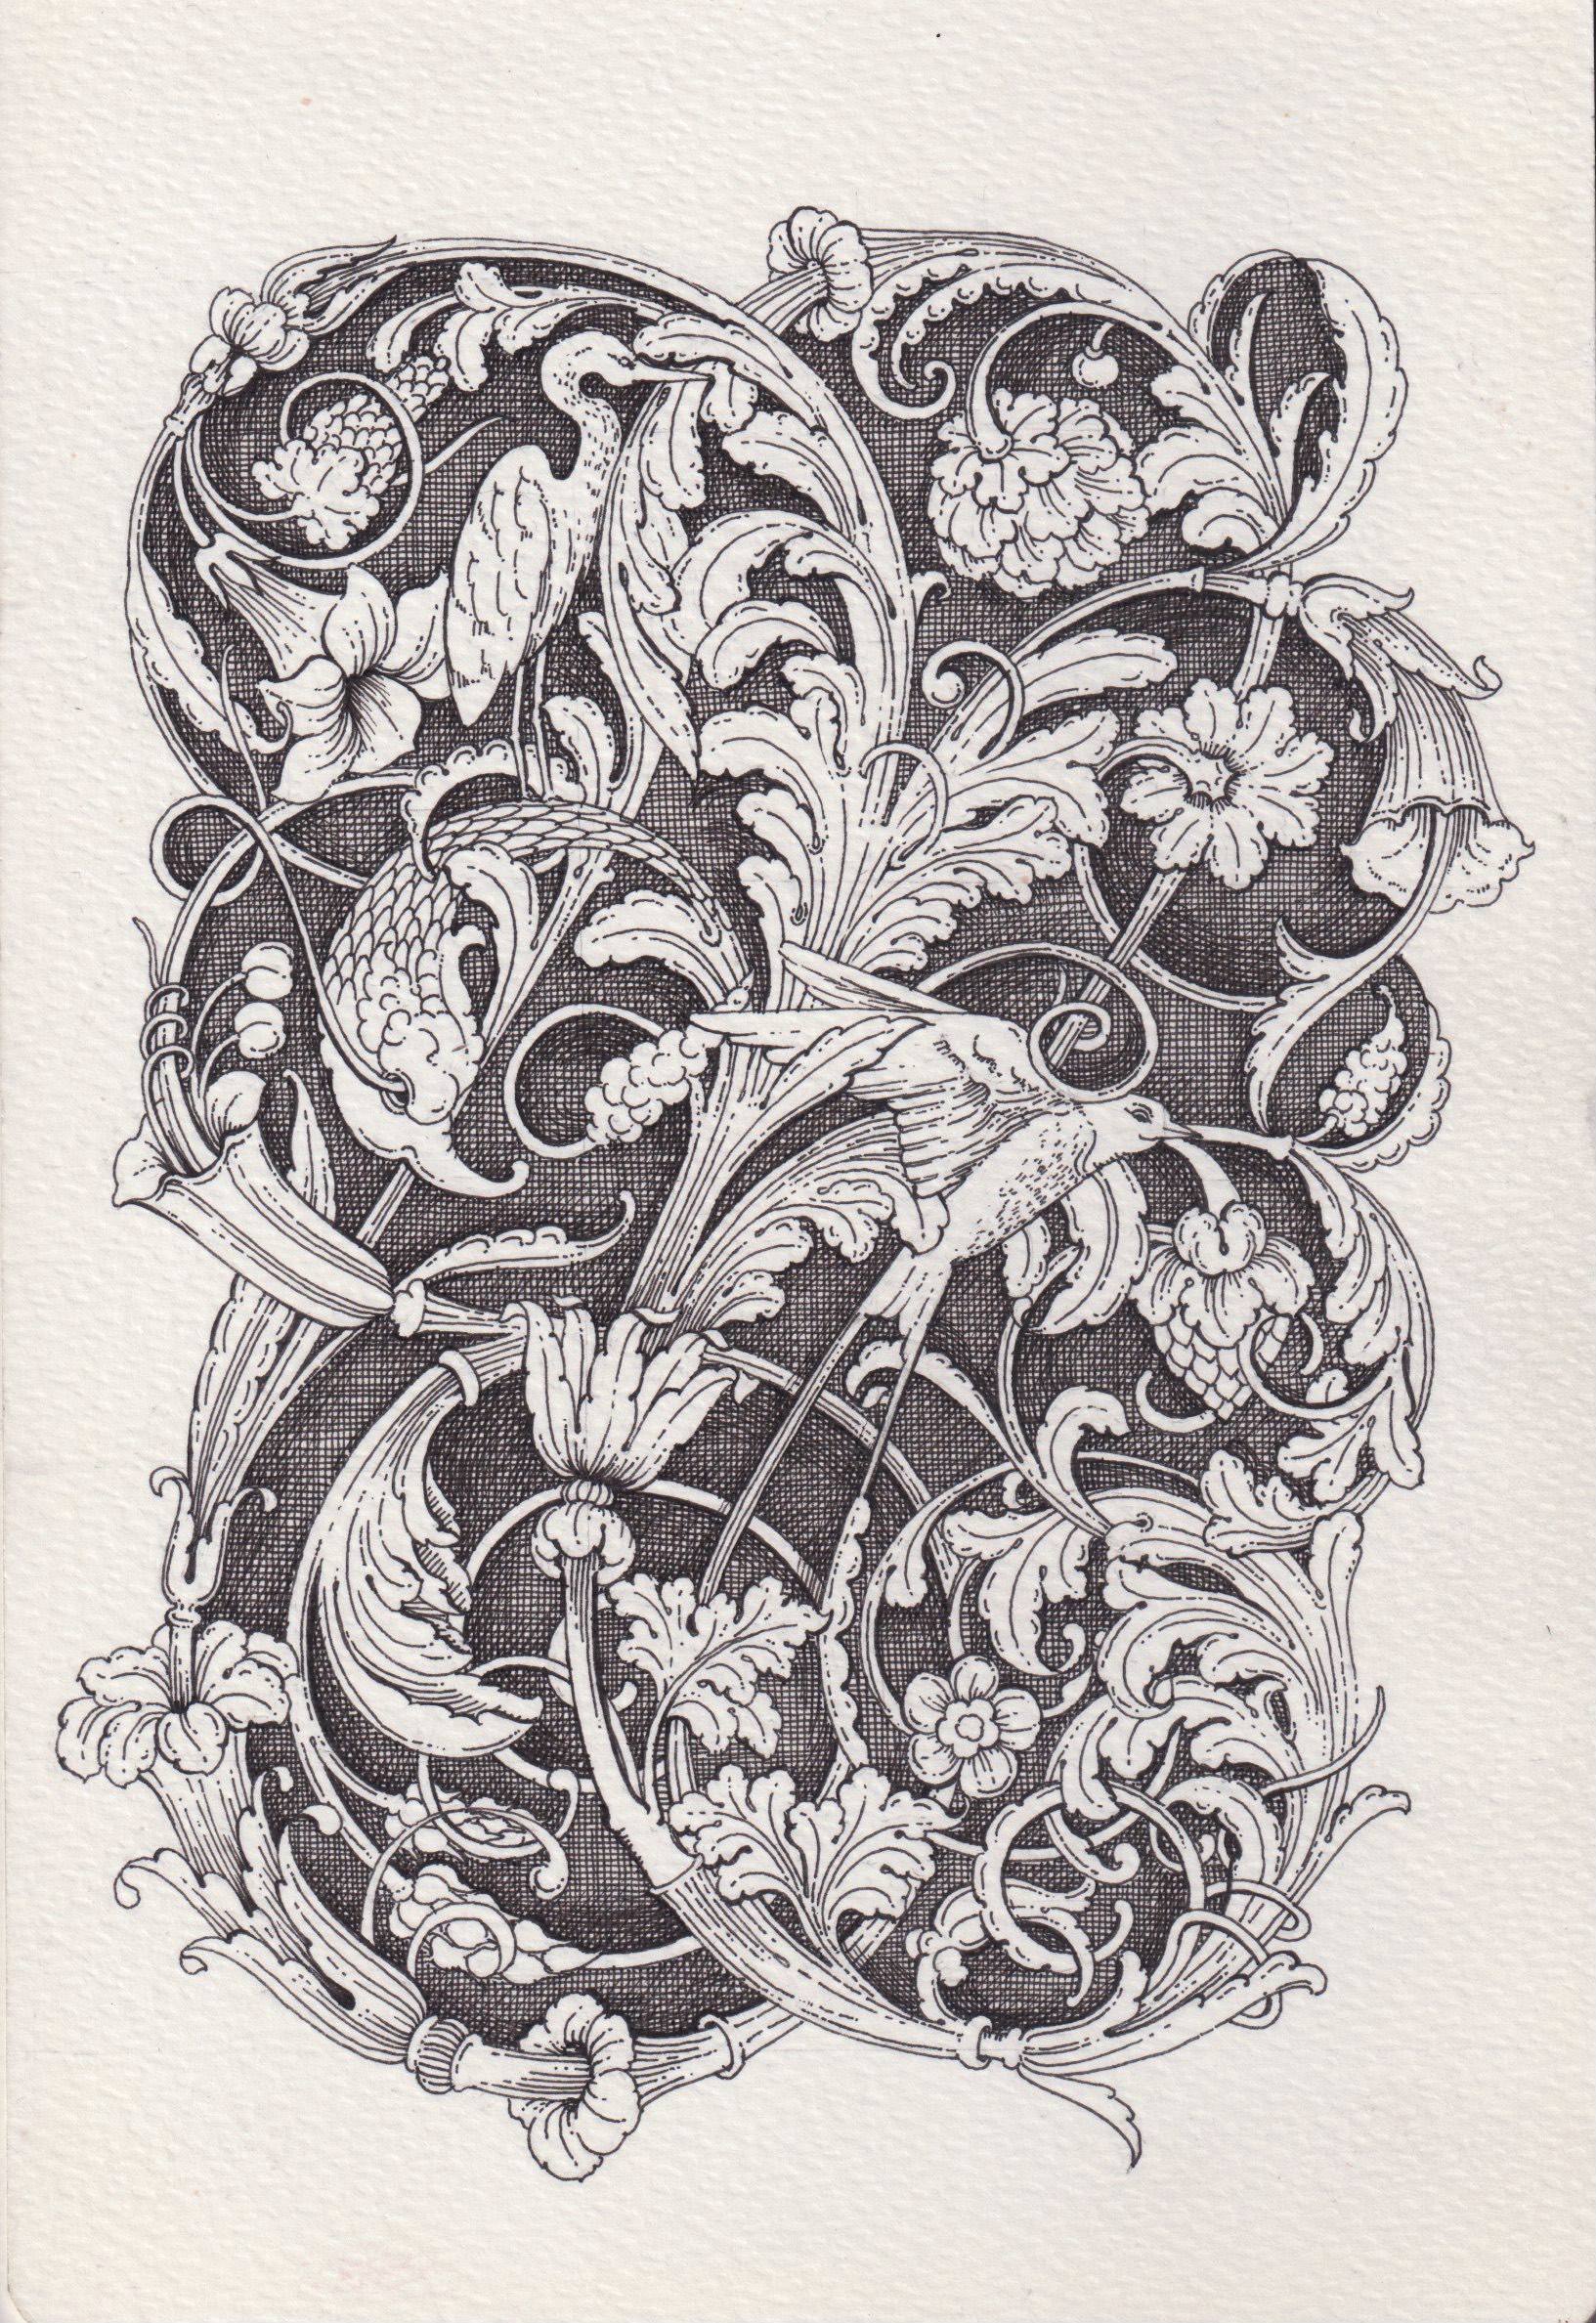
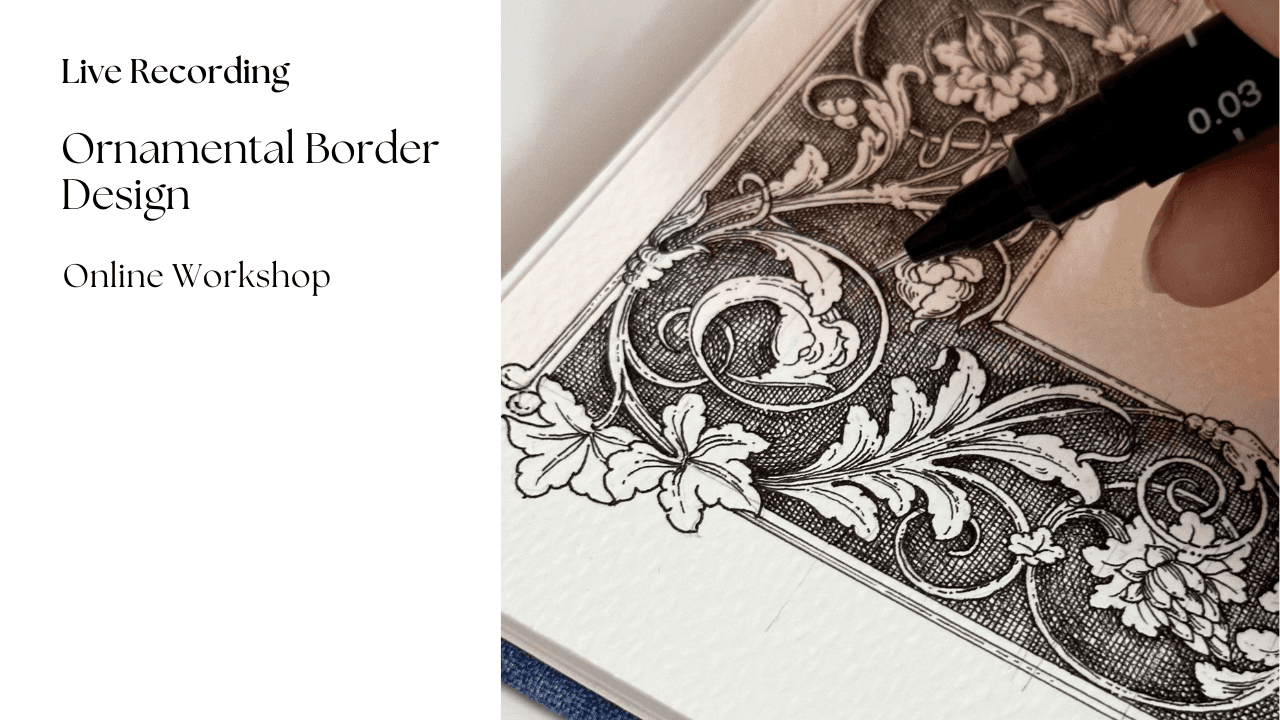
Watercolour Lily Flower is a calm paint-along built on transparent layers, with practical control over water, pigment and petal detail. Watercolour Acanthus Motif takes a classical leaf from the first wash to the final detail. Both are included in the OB Art Circle, as is the rosette workshop. Watercolour Ornamental Border is a separate workshop, not part of the membership: you choose a simple palette and paint floral and acanthus details step by step. For the tradition behind the ornament, start with my beginner's guide to ornamental art.
A few questions I often get
What paper should I use for watercolour Christmas cards?
Cold-pressed watercolour paper of 300gsm (140lb). It holds a wash and stands up as a card, and cellulose student paper is fine for a batch. Avoid painting straight onto ordinary card stock, which pills and cockles when wet.
What size should a handmade Christmas card be?
Size it to an envelope you can buy: A6 (105 by 148mm) for a C6 envelope, or 5 by 7 inches for an A7 envelope in North America. An A4 sheet gives two folded A6 cards or four panels, and a 9 by 12 inch sheet gives one folded 5 by 7 card or two panels.
How do you paint lots of Christmas cards quickly?
Choose one design, pencil every card first, and paint in passes: one colour across all the cards, details last. Most of the time goes on drying, so two short sittings work better than one long one.
How do you stop watercolour cards from buckling?
Use 300gsm paper, taped down on all four edges until it is dry. If a finished panel still cockles, mist the back very lightly, never enough to reach the paint, and press it face down between clean sheets of paper under heavy books. Swap the damp sheets for dry ones after a couple of hours, and leave it pressed for a day or two.

Comments
Loading…