How to Draw Straight, Confident Lines: Six Warm-Up Drills
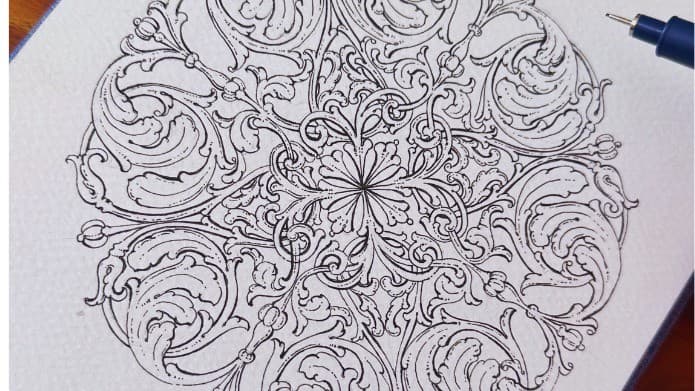
Every week someone writes to ask me how to draw straight, confident lines. The question usually arrives with a small confession attached: my hands shake, my curves wobble, I go over every stroke twice and it still looks hairy. So let me say this plainly before anything else. Wobbly lines are not a talent problem. They are a movement problem, and movement can be retrained.
I ink ornamental work most days (acanthus leaves, scrolls, long border lines) and I still warm up before a proper session. The drills below take about ten minutes with any pen on cheap printer paper. Do them before you draw, not instead of drawing. Give it two weeks of short daily practice and you will feel the change in your arm before you see it on the page.
Why lines wobble in the first place
Nearly every shaky line comes from one of three habits, and none of them is nerves.
- Drawing from the fingers. Fingers are built for tiny corrections, not for travel. Ask them to carry a stroke across ten centimetres and they run out of reach halfway, the wrist takes over mid stroke, and the line kinks. Short marks can come from the wrist, medium lines from the elbow, and long sweeps from the shoulder, with the fingers doing almost nothing.
- Moving too slowly. A slow pen gives your hand time to second-guess itself, and every tiny correction shows as a wobble. A stroke drawn at a calm, medium pace has no time to hesitate. Slow is for planning where the line goes. The stroke itself wants a little speed.
- Watching the pen tip. If your eyes sit on the nib, you are steering from behind. Look at the point where the line should end and let your hand travel towards your gaze. It feels odd for a day or two, and then it feels obvious.
Set up first: grip, page, and the ghost stroke
Hold the pen two to three centimetres back from the tip, further than feels natural, with a grip loose enough that someone could slide the pen out of your hand. A choked grip forces the fingers to do the moving, and we have just retired the fingers. For drills a 0.5 fineliner is forgiving, but a ballpoint or a pencil works perfectly well. Save the good nibs and the 200 gsm paper for finished work; drills belong on ordinary 70 to 80 gsm printer paper you can fill without guilt.
Move the page, not your posture. Right-handed artists usually find a pulled stroke (top left towards bottom right) the steadiest, and left-handed artists mirror it, top right towards bottom left. If a curve fights you, rotate the paper until the stroke falls along that natural sweep. I turn my page constantly. Nobody ever sees the finished piece sideways.
Finally, ghost every stroke before you commit. Hover the nib a few millimetres above the paper and trace the full path in the air, twice, at the speed you intend to use. Then lower the pen and make the same movement for real. Ghosting rehearses the muscle pattern, so the inked stroke is a repeat rather than a first attempt.
How to draw straight, confident lines: six warm-up drills
Work through these in order. The full set takes about ten minutes. Do not erase, do not touch up, and do not judge any single line. You are training a motion, not producing artwork.
1. Parallel line ladders
Draw twenty horizontal lines, each about five centimetres long and five millimetres apart, moving from the elbow with the wrist quiet. Aim for even spacing before perfect straightness, because spacing trains control faster. Three rows, sixty lines, roughly two minutes.
2. Curve echoes
Draw one relaxed curve, any curve at all. Now repeat it ten times, each copy two or three millimetres from the last, like contour lines on a map. The first echo is easy. By the seventh, your arm has memorised the shape. Do three different curve families.
3. S and C strokes from the shoulder
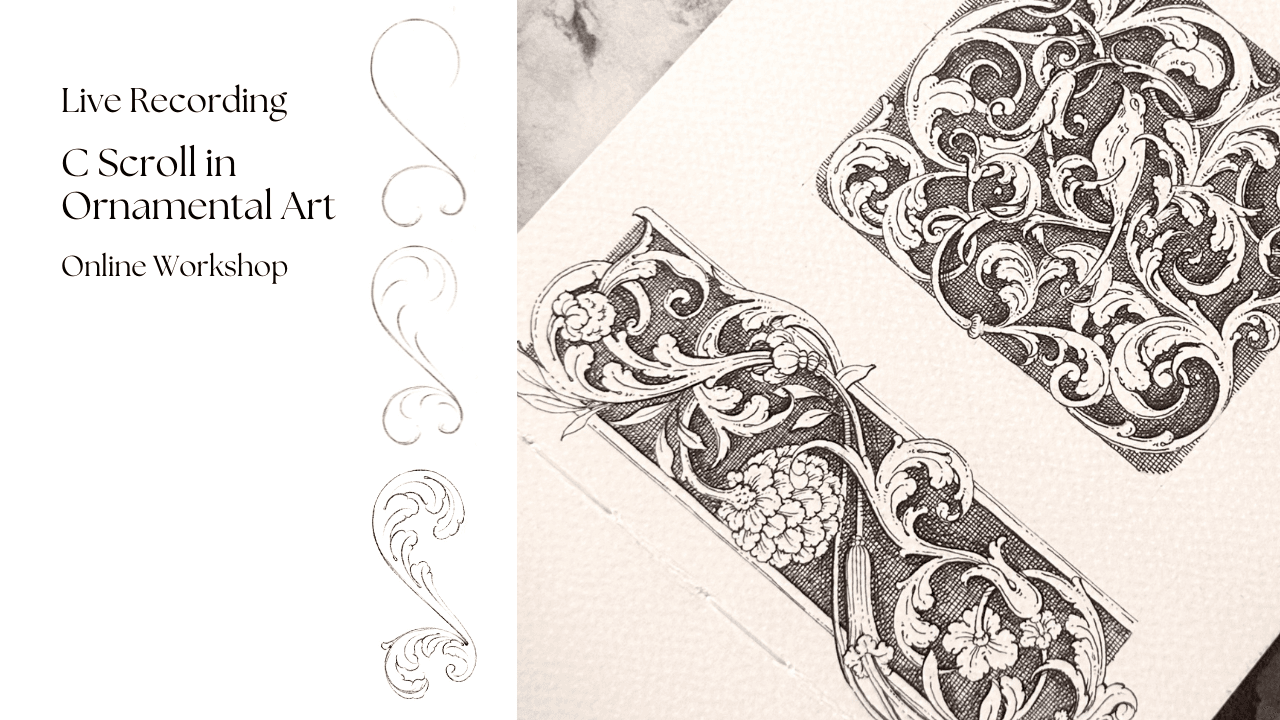
Fill half a page with S strokes eight to ten centimetres tall, then half with C strokes, fifteen of each. Keep the wrist quiet and swing the whole arm. These two movements underpin nearly every ornamental form I teach, so they earn a place in the warm-up every single day.
4. Slow, fast, slow tapers
Twenty strokes: touch down lightly, let a little more pressure and speed ride through the middle, then ease off and lift at the end. The line should swell and thin on its own. This is the seed of expressive line weight, and it only works with some speed, which makes it a lovely cure for cautious drawing.
5. Joining dots in one stroke
Place two dots about eight centimetres apart. Ghost the path twice, then join them in a single pass, eyes on the second dot the whole way. Ten pairs. Then scatter dots at awkward angles and rotate the page to reach them. This is where control turns into aim.
6. Fill a square with even hatching
Draw a square roughly five centimetres wide and fill it with parallel strokes about two millimetres apart, all leaning the same way. Squint at it. The tone should read as one even grey, and any blotches mean your spacing or pressure drifted. One square is enough. It is more taxing than it looks.
Ten minutes a day beats an hour on Sunday
Little and often is the whole secret. Ten minutes before each drawing session keeps the motion fresh in your arm, while a single long weekly practice fades before you next pick up a pen. If you draw daily, warm up daily. If you draw three times a week, warm up three times a week. The drills should feel like scales for a musician, brief and unremarkable.
Warm-ups like these are part of the rhythm inside the OB Art Circle, alongside the monthly live workshops. There is something quietly steadying about practising with other people who are also filling pages with ladders and tapers.
A confident line is not a perfect line. It is a line you drew once, at a steady pace, and then left alone.
Where the confidence pays off: scrolls
Once your strokes settle, give them something worth doing. Scrolls are the best real-world application of confident curves I know. A scroll is one long, controlled spiral, and any hesitation shows immediately in its spine. The S Scroll course is where I would start, because the S stroke you practised in drill three is exactly the same movement at full size.
And when you are ready to think about what those steadier lines can actually do (hatching for tone, tapers for depth, line weight for hierarchy), that is what Linework Mastery covers, stroke by stroke, on ornamental forms.
A few questions I often get
Should I just use a ruler?
For framing lines and borders, yes, I use one too. But a ruler cannot draw an acanthus curve or the spine of a scroll, and a ruled line sits oddly next to freehand ornament, too sterile against living strokes. The aim is not to ban tools. It is to stop needing them for every mark.
Does an expensive pen fix this?
No. A smoother pen hides a little wobble, but the wobble comes from your movement, not the tool. Fix the grip, the speed, and where your eyes go, and even a ballpoint behaves beautifully.
How long until I see a difference?
In my experience a couple of weeks of daily ten minute practice is enough to feel steadier, and a month is enough to see it in finished work. Keep your first ladder page and compare it after thirty days. That comparison is usually all the motivation anyone needs.
Comments
Loading…