How to Draw an Ornamental Border, Corners and All
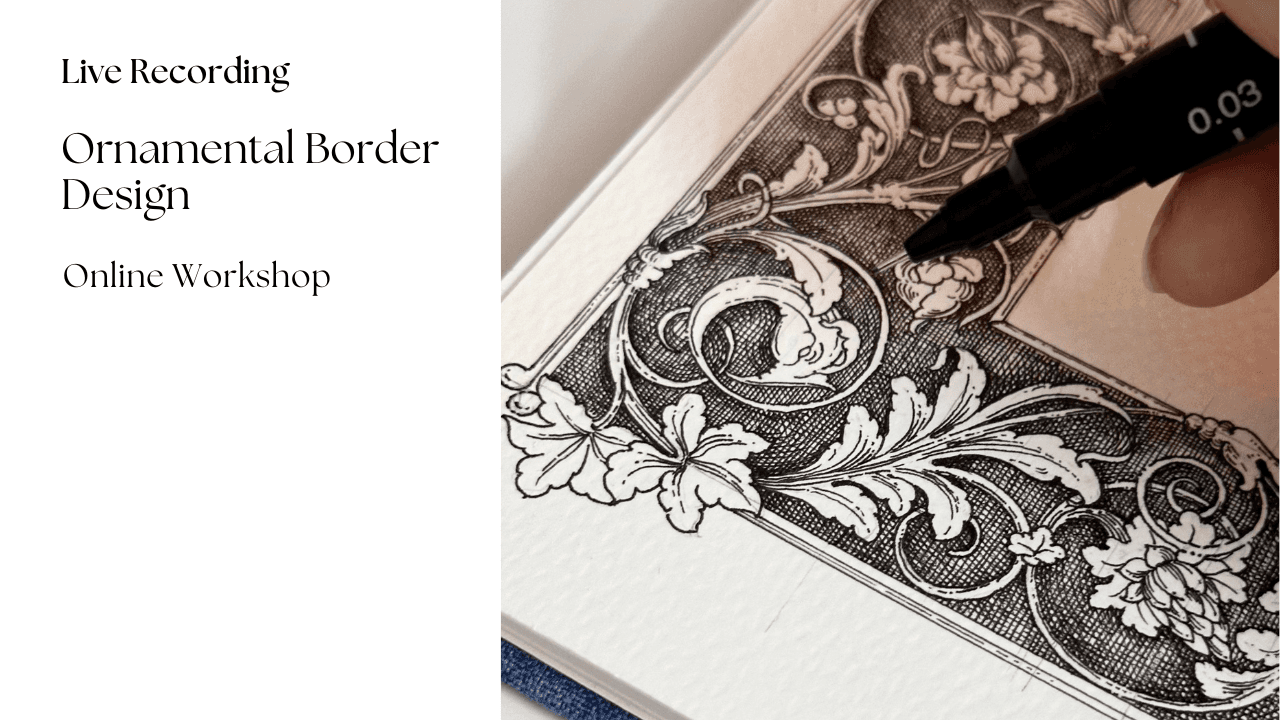
Look at a title page, a certificate, a carved doorframe in one of Lucknow's older houses. Ornament runs round the edge, repeated, and it comes out even. That does not happen by starting at one end and hoping.
To draw an ornamental border, work backwards from the page. Measure inside your margins, design the four corners first and subtract them, then divide what is left by a whole number of repeats, letting the unit change size rather than the spacing. This post is the setting out, the arithmetic, the marking and the corners. You need a 2H pencil, a millimetre ruler, dividers, tracing paper, a 2B, a vinyl eraser, smooth paper of at least 150gsm, and 0.1 and 0.3 pigment fineliners. Give the first one an hour before any ink.
How to draw an ornamental border, step by step
1. Rule the band, then design the corners
A4 portrait is 210 by 297mm. Twenty millimetre margins leave an inner rectangle of 170 by 257mm, and the band sits inside that: 18mm on A4, with the margin at least as wide as the band. Rule two parallels in light 2H, then one centre line, usually the stem line as well.
Now the corners, before a single run is measured. Choose the treatment (block, mitre or continuous turn, all three below) and for a block mark a corner square the width of the band at all four corners. Do it the other way round and you reach the corner holding half a unit. No skill rescues that.
2. Measure the clear run and divide it
Measure between the corner marks, never across the page. Two 18mm squares come off each side of the inner rectangle, leaving clear runs of 221mm and 134mm. Pick the unit you would like, 30mm say. Divide: 221 over 30 is 7.37. Round to seven, divide 221 by seven, and the unit is 31.57mm. The short run takes four of exactly 33.5mm.
Which way you round decides the size of everything: round down and the unit grows, round up and it shrinks. Spread the leftover evenly through every unit, never into one widened gap. The eye catches uneven spacing at once. It never notices a stem a millimetre longer. The two sides rarely match, and I let their units differ by about a tenth of a unit before changing a count.
3. Mark the divisions so the last one lands
You cannot set 31.57mm against a ruler. Round it to 32, step that seven times, and you overshoot the far corner by three millimetres. Mark cumulative distances instead, all from the same zero, to the nearest half millimetre: 31.5, 63, 94.5, 126.5, 158, 189.5, 221. Or walk the dividers. Set them to your best guess and step heel to toe, opening the points a hair each pass until the last step lands on the corner mark.
Never step tick to tick along the ruler. Small errors all lean the same way, and they arrive together at the last corner, a millimetre the border cannot spare. Neither method above accumulates: one measures every mark from the same zero, the other closes on the corner by trial.
4. Build one unit: a motif plus a connective
A repeat unit is not a motif. It is a motif and the stem, scroll or ribbon that carries it into the next. The test: the stem must leave the right edge of the unit at the height and angle it entered on the left. The connective also takes the leftover from the division. Lengthen the stem by the surplus and leave the motif the size you drew it. Draw the unit twice, side by side, before you draw it seven times.
Where the boundary falls matters as much. Put it through the quiet part of the connective, never through the eye of a scroll or the heart of a rosette, or every join reads as a cut. That is how beginners end up with a row of isolated stamps. If flow is your weak point, Connecting Scrolls: Flow & Rhythm is built around this one problem.
5. Give the run a beat, and choose the mirror line
Identical units repeated identically read as wallpaper. Ornament wants a beat: a dominant element with a smaller subordinate between. A straight repeat sets every unit the same way up; an alternating reversal, or turnover, flips every second one so the leaves fall above the stem, then below. A border is taken in one sweep, and a sweep needs something to count.
Mirror about the centre of each run and the border grows outward from one central motif. Mirror inside each unit instead and you get a row of small symmetrical events, calmer and flatter. Never redraw the reflection by hand. Your judgement is not good enough at this scale, and the failure shows. Draw the half unit on tracing paper, rub the back with the 2B, flip it and go over the lines with a hard point. Construction stays 2H. Transfer needs a soft grade.
A studio note: before I ink anything I walk the dividers along the pencilled run once, heel to toe, drawing nothing. Half the time they land a hair short at the far end, and moving a tick costs nothing while a crowded last repeat costs the border.
6. The corner block
The simplest solution, and an honourable one. Stop the run at the corner mark, set a square element into the square you reserved (a rosette, a quatrefoil, a small shell), and begin the next run beyond it. It is read head on, so it never has to turn or flow.
Use it when the motif is strongly directional, a leaf that clearly grows one way, because rotating that through ninety degrees looks wrong however well you draw it. It rescues an imperfect run too, absorbing a fraction of a millimetre at each end, unnoticed.
7. The true mitre
Draw the diagonal from the inner corner of the band to the outer corner, at forty-five degrees. That is the mitre line, and one side of it is the reflection of the other. The crossing is what must be right: the stem meets the mitre at a right angle, so its reflection continues the curve instead of meeting it in a V.
A mitre has no corner square to subtract, so the arithmetic turns round: divide from the corners inward, not from the run outward. Put the centre stem of a motif on the mitre line and step whole units outward along both runs. The difference lands at the centre of each side, where a mirrored pair meeting nose to nose hides it. Right by construction.
8. The continuous turn
The third option keeps the stem unbroken and curves it round the corner. Strike both arcs from one centre on the corner diagonal, the inner radius roughly the band width, so the band holds its width all the way round. The leaves grow from the outside of the curve, opening where the arc is generous and tightening on the inside.
The outer arc is longer than the inner one. Geometry, not a fault: a leaf on the turn is drawn wider at its outer end and tighter at its inner, and the dividers step along the centre line of the band rather than either edge. The unit on the turn still comes out long. Shorten the two either side of it a little, or add a small leaf on the outside of the arc.
9. Finish the ends, then check the pencil
A border that does not close on itself needs a terminal at each end. A tapering leaf. A bud. A tail-piece, or a mirrored pair of scrolls meeting at the centre. Plan them with the corners, because they eat into the length you have to divide.
Then, with the pencil done and no ink near it, stand back four paces, turn the sheet upside down, hold it to a mirror. Rhythm survives all three. Drift does not. Five millimetres long over seven repeats is 0.7mm out of each, well under the tenth you allowed yourself; the same five in one squeezed repeat is the first thing anyone sees. Lift the construction with the vinyl eraser a minute after the ink goes down.
Common mistakes, and how to fix them
- The last repeat does not fit, so the gaps get stretched. Change the unit instead. Divide the run by a whole number of repeats and let the unit be 31.57mm, not the round 30mm you wanted.
- Beautiful motifs that refuse to join into a run. You drew motifs, not units. Redraw one as motif plus connective, check the stem exits at the height it entered, and move the boundary into quiet stem.
- The border reads as texture rather than ornament. There is no beat. Add a smaller subordinate between each pair of motifs, or flip every second unit so the leaves fall above the stem, then below.
- The corner was improvised on arrival. Rub it out. Design and mark all four corners first, subtract them from the inner rectangle, then divide what is left. A block is the safest while you are learning.
Where to take it next
Layout is half of a border. The other half is the ornament sitting on that frame, drawn steadily enough to survive seven repeats without wobbling. Ornamental Border Design works through complete borders from setting out to finished ink, with the corner treatments drawn at full size.
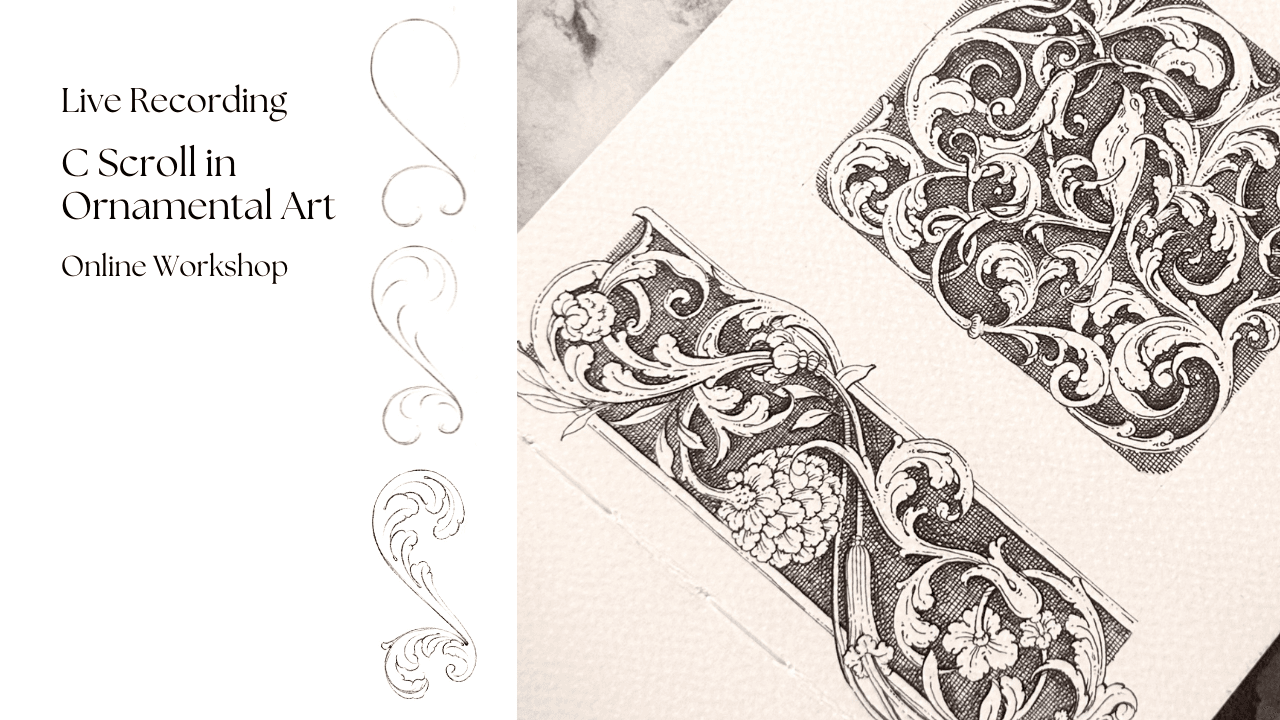
The continuous turn will keep you up at night, and the scroll is the shape it is built from. S Scroll in Ornamental Art takes that curve apart and rebuilds it. Prefer company while you practise? The OB Art Circle gathers the courses with feedback and a monthly rhythm of work, so your runs get looked at.
A few questions I often get
How do you make a border pattern fit exactly around the page?
By measuring the run rather than the page. Fix the margins and the band, mark the four corner elements, then measure between corners: on A4 with 20mm margins and 18mm corner squares, that is 221mm. Divide it by the unit size you want, round to a whole number of repeats, then divide 221 by that number. Seven gives 31.57mm, marked as running totals from one end.
How do you turn a corner in a repeating ornamental border without breaking the pattern?
Three sound answers. Stop the run and set a block or rosette into the corner square, which is the most forgiving. Mitre it, reflecting the design through the forty-five degree diagonal with the stem crossing that line at a right angle, and set out from the corner inward. Or carry the stem round in a continuous turn, both arcs struck from one centre so the band keeps its width.
What do you do if the last repeat of your border does not fit?
Never squeeze it. Still in pencil? Rub out the ticks and divide the run by a different whole number. Part inked and drifting: share the shortfall across every remaining unit, so four millimetres over seven repeats is 0.6mm each and invisible. Once the share passes about a tenth of a unit, put it into a corner block or a terminal.
Comments
Loading…