How to Draw a Floral Rosette
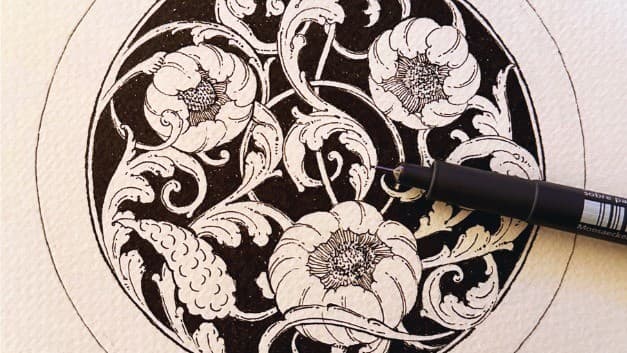
Most people who ask me how to draw a rosette assume the problem is a shaky hand. It almost never is. A rosette is a circular ornament built on radial symmetry, so the real work is quiet planning: light circle guides, a wheel divided into equal segments, and one petal shape repeated with care around it. Get that scaffolding right and even an unsteady hand will produce something balanced.
I draw rosettes constantly in my own pen and ink work, as the centre of a border, as a filler inside a cartouche, and often just as a warm-up before a longer piece. This is the construction I use every time, and the one I teach.
What you need
- A compass, or a few round things to trace (a bangle, a lid, a coin)
- A 2H pencil for the guides and an HB for the drawing itself
- A soft eraser
- Fineliners in two sizes, a 0.1 for fine detail and a 0.5 for the bolder outer lines
- Smooth paper, 130 gsm or heavier, so the nib does not catch
Nothing fancy. The guides matter far more than the tools.
Start with light circle guides
Draw three concentric circles with the 2H, pressing so lightly you can barely see them. On an A5 sheet I usually make the centre circle about 2 cm across, the inner ring about 6 cm and the outer ring about 10 cm. The exact sizes do not matter. What matters is that all three circles share one centre point, because every petal you draw will be measured against these rings.
If you are tracing round objects rather than using a compass, mark the centre first with a small cross and line each object up against it as carefully as you can. It will not be perfect, and that is fine.
Divide the wheel into equal segments
Choose six, eight or twelve segments. Eight is the friendliest starting point: six can look sparse, and twelve punishes small errors.
With a protractor, mark every 45 degrees around the outer circle for eight segments (60 degrees gives you six, 30 gives you twelve). Then rule faint spokes from the centre through each mark. No protractor? Draw a vertical and a horizontal diameter first, then split each right angle in half by eye. Halving is far easier to judge than guessing eighths.
These spokes are the skeleton of the whole rosette. Each petal will live inside its own wedge, and the moment a petal drifts across a spoke, the symmetry starts to wobble.
How to draw a rosette petal, then repeat it
Pick one segment and draw a single petal properly. Give it three anchor points: the base sits on the centre circle, the tip touches the outer ring, and the widest part falls roughly halfway up, just inside the spokes on either side. Draw the left edge, then the right, and check the petal is symmetrical about the middle of its wedge before moving on. Practise it once or twice on scrap paper if it helps.
Now repeat it in the next segment, and the next. Two habits keep the repeats honest:
- Measure against the guides, not against the previous petal. If you copy petal from petal, every small error is inherited and grows as it travels around the wheel. If you measure each new petal from the rings and spokes instead, errors stay small and isolated.
- Rotate the page, not your wrist. Draw every petal in the same comfortable position, then turn the paper for the next one. Your hand makes the same stroke eight times, and it shows in the consistency.
If the petal shape itself feels stiff, that is a vocabulary problem rather than a symmetry problem. I spend a whole course building that vocabulary in Flowers in Ornamental Art, but for a first rosette a simple almond with a gentle curve on each side is plenty.
Build the layers
A single ring of petals is a daisy. A rosette earns its richness from overlapping layers, and the classic recipe is two: a small inner ring of forms around the centre, and a larger outer ring behind it.
Draw the inner ring first, small petals or buds whose tips reach the inner circle. Then offset the outer ring by half a segment, so each large petal emerges from the gap between two small ones. That half step is what makes a rosette feel woven rather than stacked. Where an outer petal passes behind an inner one, stop your line at the overlap and pick it up again on the other side.
This layering stage is where most of the decisions live, and it is the part I go through slowly, layer by layer, in Floral Rosette in Ornamental Art if you would like to draw one alongside me.
Keep the centre strong
The centre is the first thing anyone reads, so keep it simple and confident: a small dome, a tight cluster of circles, or a little spiral. A crowded centre makes the whole ornament feel airless, and fine detail in that small space closes up anyway once the ink goes down. Leave a ring of breathing room between the centre and the first petals.
A studio note: I think of a rosette as one drawing lesson taught eight times. If a petal goes wrong, you get another chance in the very next segment. That is why I still draw them as warm-ups.
Ink from the centre outwards
When the pencil construction looks right, switch to ink and work from the middle of the rosette out to the rim. Ink the centre first, then the inner ring, then the outer ring. Because everything already inked sits inside the ring you are working on, your hand never has to rest on wet ink.
Use the 0.5 for the outer contour of each petal and the 0.1 for interior lines and any small detail near the centre. Keep the same rotating habit as before: turn the page so every stroke is pulled in a comfortable direction, ideally towards you. Then wait. Give the ink a good ten minutes before you erase the guides, and erase gently, in one direction, with a soft eraser. Light 2H lines lift cleanly, which is why we did not press hard at the start.
Common faults, and what actually causes them
- Wobbly symmetry. Almost always a guide problem, not a hand problem: freehand circles, segments stepped out by eye, or petals copied from their neighbours instead of measured from the spokes. Rebuild the scaffolding and the wobble usually disappears with it.
- An overcrowded centre. Beginners often save their favourite details for the middle, then wonder why the rosette feels heavy. The fix is subtraction: one simple form, with space around it.
- Petals that ignore the segment guides. If tips wander off their spokes or widths swell segment by segment, the rosette slowly spirals out of true. Check every petal against its own wedge before starting the next one.
- Guides drawn too dark. Heavy construction lines dent the paper and refuse to erase, and they tempt you to draw timidly on top of them. Barely visible is the aim.
A few questions I often get
Do I really need a compass?
For a single ring of petals, no. Trace a lid or a bangle and get drawing. For layered rosettes a compass earns its place, because the layers only sit properly when all the circles share one centre point, and that is hard to manage with traced objects. The cheapest school compass works fine.
How many petals should a beginner start with?
Eight. Six leaves awkward gaps to fill, and twelve means any drift in your repeats comes around to meet you quickly.
My rosette looks flat. What am I missing?
Usually overlap and line weight. Let the outer petals genuinely pass behind the inner ones, give the outer contours a thicker line than the interior details, and add a touch of shading where a petal tucks out of sight. Those three things together lift the ornament off the page.
What should I try after the floral version?
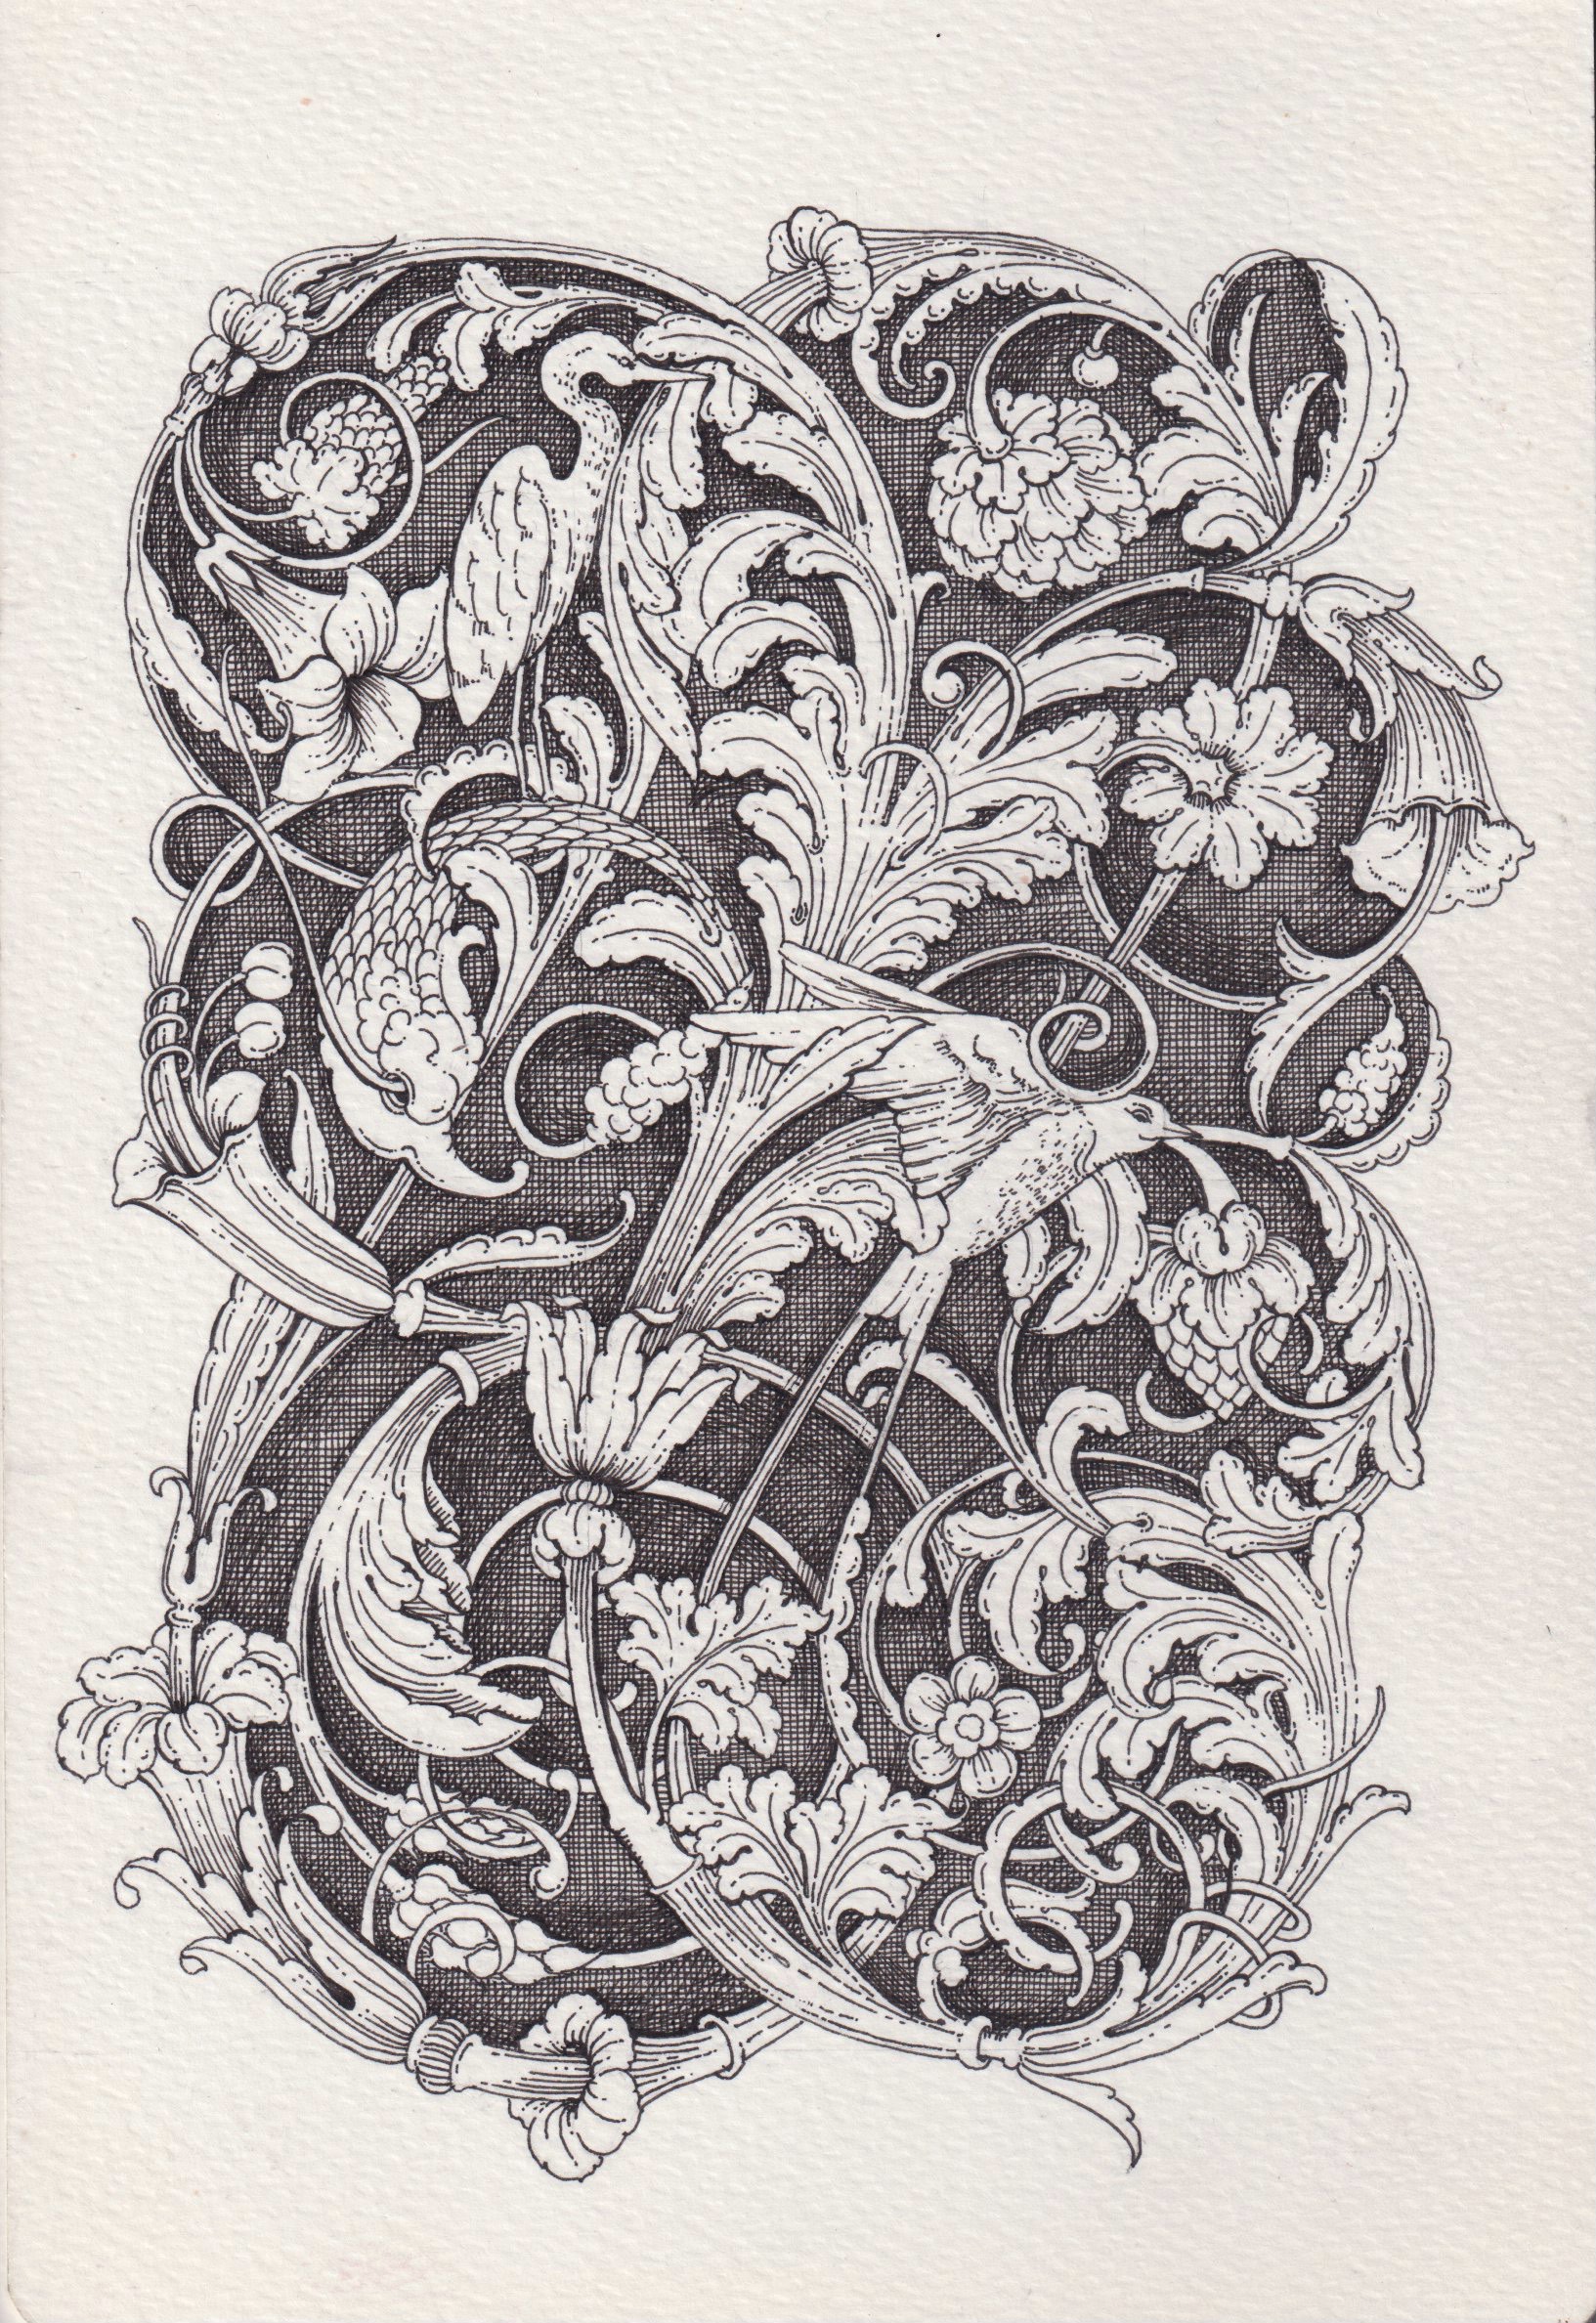
Swap the petals for leaves. The same wheel, the same guides and the same repeating habits will carry an acanthus rosette, which is a lovely bridge into classical ornament. That is exactly what we build in Acanthus Rosette in Ornamental Art, one leaf unit at a time.
Comments
Loading…