Can You Paint on Handmade Paper? How to Size It for Ink and Watercolour
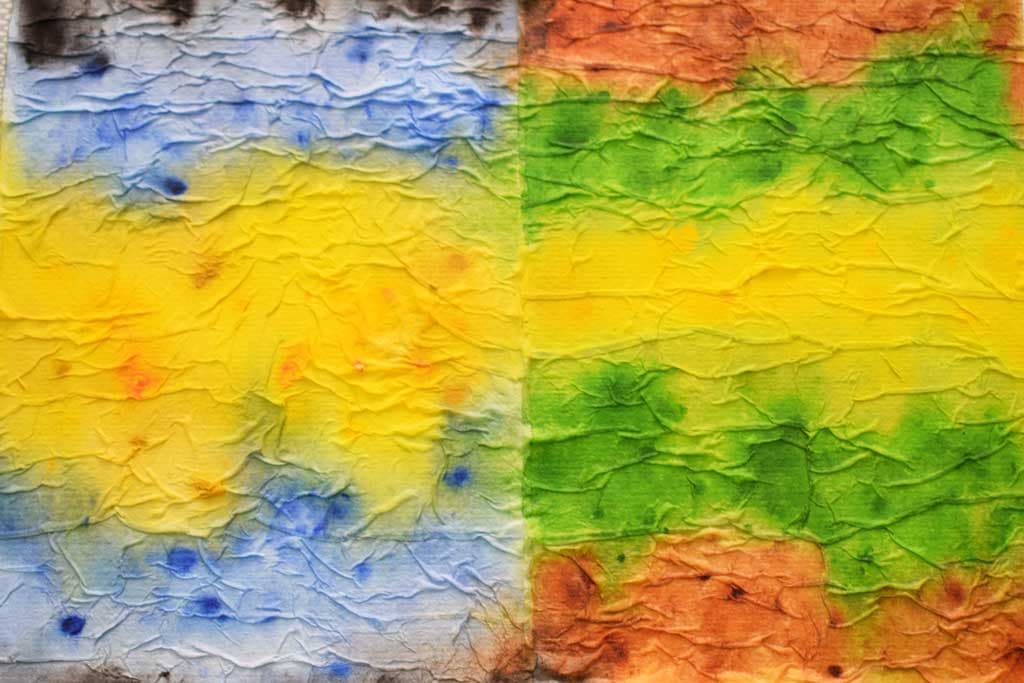
Yes, you can paint and draw on handmade paper, but most home-made sheets need sizing first. Straight off the mould a sheet is what papermakers call waterleaf: its fibres drink water, so an ink line grows fine hairs and a watercolour wash sinks in instead of sitting on the surface. Sizing is a thin coat of gelatin, starch or acrylic medium that slows that drinking down.
This post starts where papermaking ends. If you still need sheets, the 13 ways of making handmade paper at home will get you there. You need dry sheets, plain unflavoured gelatin powder (or wheat starch, or acrylic matte medium), a heatproof bowl in a pan of hot water, a kitchen thermometer, a soft flat brush 3cm to 5cm wide, a tray, blotting paper, two boards, heavy books, and a pigment fineliner and one watercolour for testing. Active work is about an hour, spread over three or four days.
Why ink feathers on an unsized sheet
Paper is a mat of cellulose fibres, and cellulose loves water. Touch wet ink to it and the fibres pull the liquid along themselves by capillary action, in every direction, before it can dry where you put it. That is feathering. Size coats the fibres so ink and paint dry on the surface first. Blotting paper is simply paper that was never sized.
Step 1: Test a scrap before you do anything else
Tear a strip off a sheet you do not love. Draw a firm line with a 0.3 pigment fineliner, and a second with any wetter ink you use. Beside them, brush a 2cm swatch of watercolour with a well-loaded brush. Wait a minute, then look at both sides. Hairs along the line, a swatch that has spread well past its edges, or colour showing on the back all mean the sheet needs size.
Internal or external sizing: which one you need
Internal sizing is stirred into the pulp before sheets are formed, so the whole batch is treated evenly. Hand papermaking suppliers sell liquid internal sizes (AKD is the usual modern one), used at the dose and with the handling notes on the bottle. It is less work and keeps a little absorbency, but commits every sheet before you know its job. If your pulp goes through a blender, keep that blender for paper only, never food, and unplug it before your hands go near the blades.
External sizing, also called surface or tub sizing, is brushed or dipped onto dry sheets. It takes longer, the sheets cockle and need pressing, and it can make them slightly less tear resistant. In return each sheet can be sized for its job. With sheets already made it is the only choice, and the rest of this post covers it.
How to size handmade paper at home
Step 2: Make a gelatin size
A 2% to 3% solution is the usual strength for surface sizing: 20g to 30g of gelatin to one litre of cold water. Start weak. Sprinkle 10g of powder over 500ml of cold water and leave it a few hours or overnight to swell. Set the bowl in a pan of hot water and warm it, stirring, until clear, keeping it below 60°C, because overheating spoils gelatin.
Hot gelatin burns and clings to skin, so let it fall to about 40°C before you work, and keep children back while it is on the heat. Leave the bowl in the warm water so it does not set. Old recipes add alum to harden the size and discourage mould, but alum is acidic and paper sized with it tends to discolour and weaken over the years. Leave it out and make the size fresh each time.
Step 3: Brush or dip the sheets
To brush, lay the sheet on clean polythene and work from the centre outwards in strokes that run one way. Let it dry, then coat the other side. To dip, pour the warm size into the tray and slide the sheet in on a piece of polythene, because handmade paper is weak when wet. Leave it under a few seconds, and lift it out on the same support.
A studio note: before a sheet goes near the size, write on the back in soft pencil which size it is getting and how strong. Dry, a gelatin sheet, a starch sheet and an unsized sheet look almost identical, and you will want to know which one took the ink well.
Step 4: Or use starch, or acrylic matte medium
Wheat starch is the plant-based option and gives a softer size. Stir 30g of wheat starch into 50ml of cold water. Bring 250ml of water to the boil in an old pan kept for craft, pour the starch mixture in a little at a time, stirring, and keep cooking and stirring for five to ten minutes. It thickens as it cools. Let it cool completely, since hot paste sticks to skin, push it through a sieve and thin it with water until it brushes like single cream. It keeps about three days at room temperature, a week in the fridge; throw it out if it separates or smells sour.
Acrylic matte medium needs no cooking. Mix two parts medium to one part water and no thinner, since more water leaves a hazy film, and brush one thin coat on each side. On very absorbent paper it can dry with a frosted look. Watercolour sits on an acrylic film rather than sinking in, so washes lift easily and can dry with harder edges: a different surface, not a better one. Wash the brush straight away.
Whichever you choose, size one scrap, dry it and test it before you touch a good sheet. These quantities are starting points; your fibre, sheet thickness and water will all move the result.
Step 5: Dry each sheet alone, then press it flat
Wet size behaves like glue. Dry each sheet on its own, pegged by a corner to a line or laid over a clean dowel, touching nothing. Do not stack them or put them between blotters yet, or they will stick for good. Give gelatin two or three days to harden before you go further.
To flatten, mist the back of each sheet with a plant spray until it goes limp, and rest it between clean damp cloths for a couple of hours. Then stack blotter, baking parchment, sheet, parchment, blotter, with a board top and bottom and heavy books on top. Change the blotters after a few hours and again next day. Most sheets are flat in one or two days.
Step 6: Test again, and adjust the next batch
Repeat the line and swatch from Step 1 in a corner. Crisp line, swatch staying put: the sheet is ready. Still feathering: add another thin coat. Watercolour beading or leaving a shine: the size was too strong, so use less next time.
Fibre matters as much as size
Size cannot rescue a weak sheet. Newspaper pulp comes out grey and flecked from the printing ink, its short fibres soften and tear under a wash, and newsprint yellows and turns brittle with age. For drawing and painting, use cotton: cotton linters from a papermaking supplier, or torn scraps of old cotton watercolour paper, give longer fibres and a sheet that survives wetting. Thicker sheets cockle less under a wash. The tissue sheets in my older handmade paper post are lovely for bookmarks, but too fine to draw on.
What to draw and paint on a textured sheet
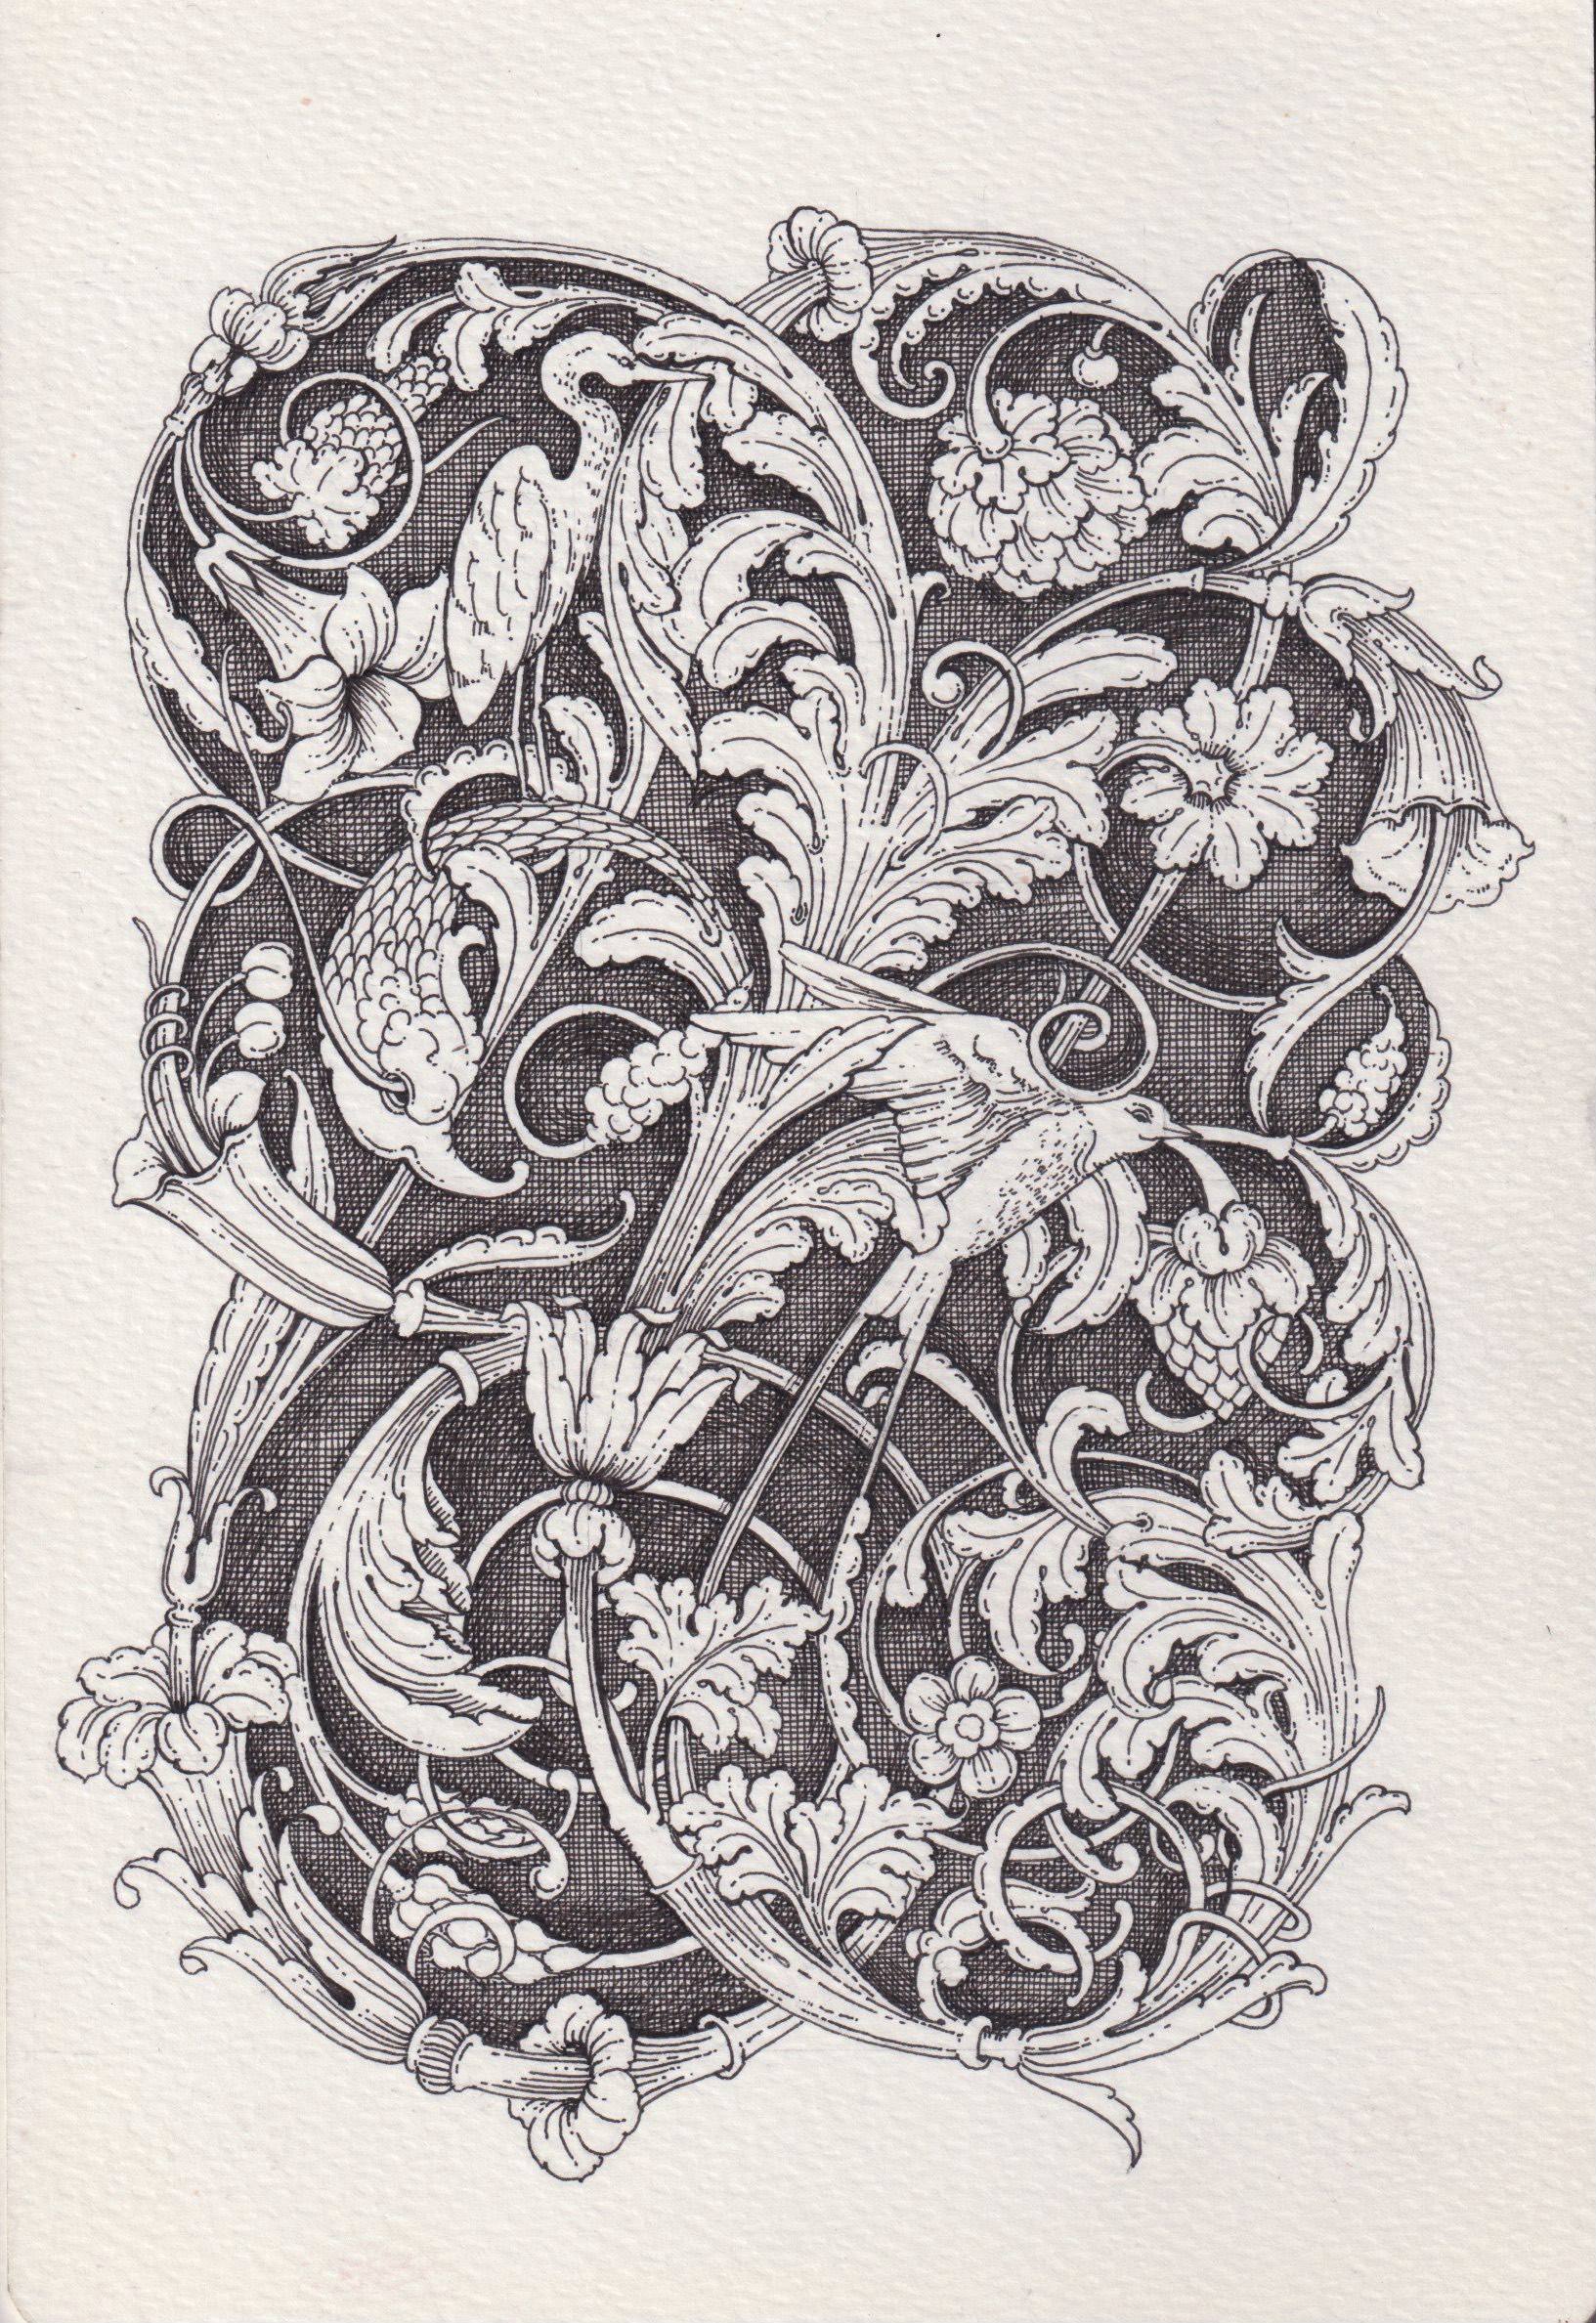
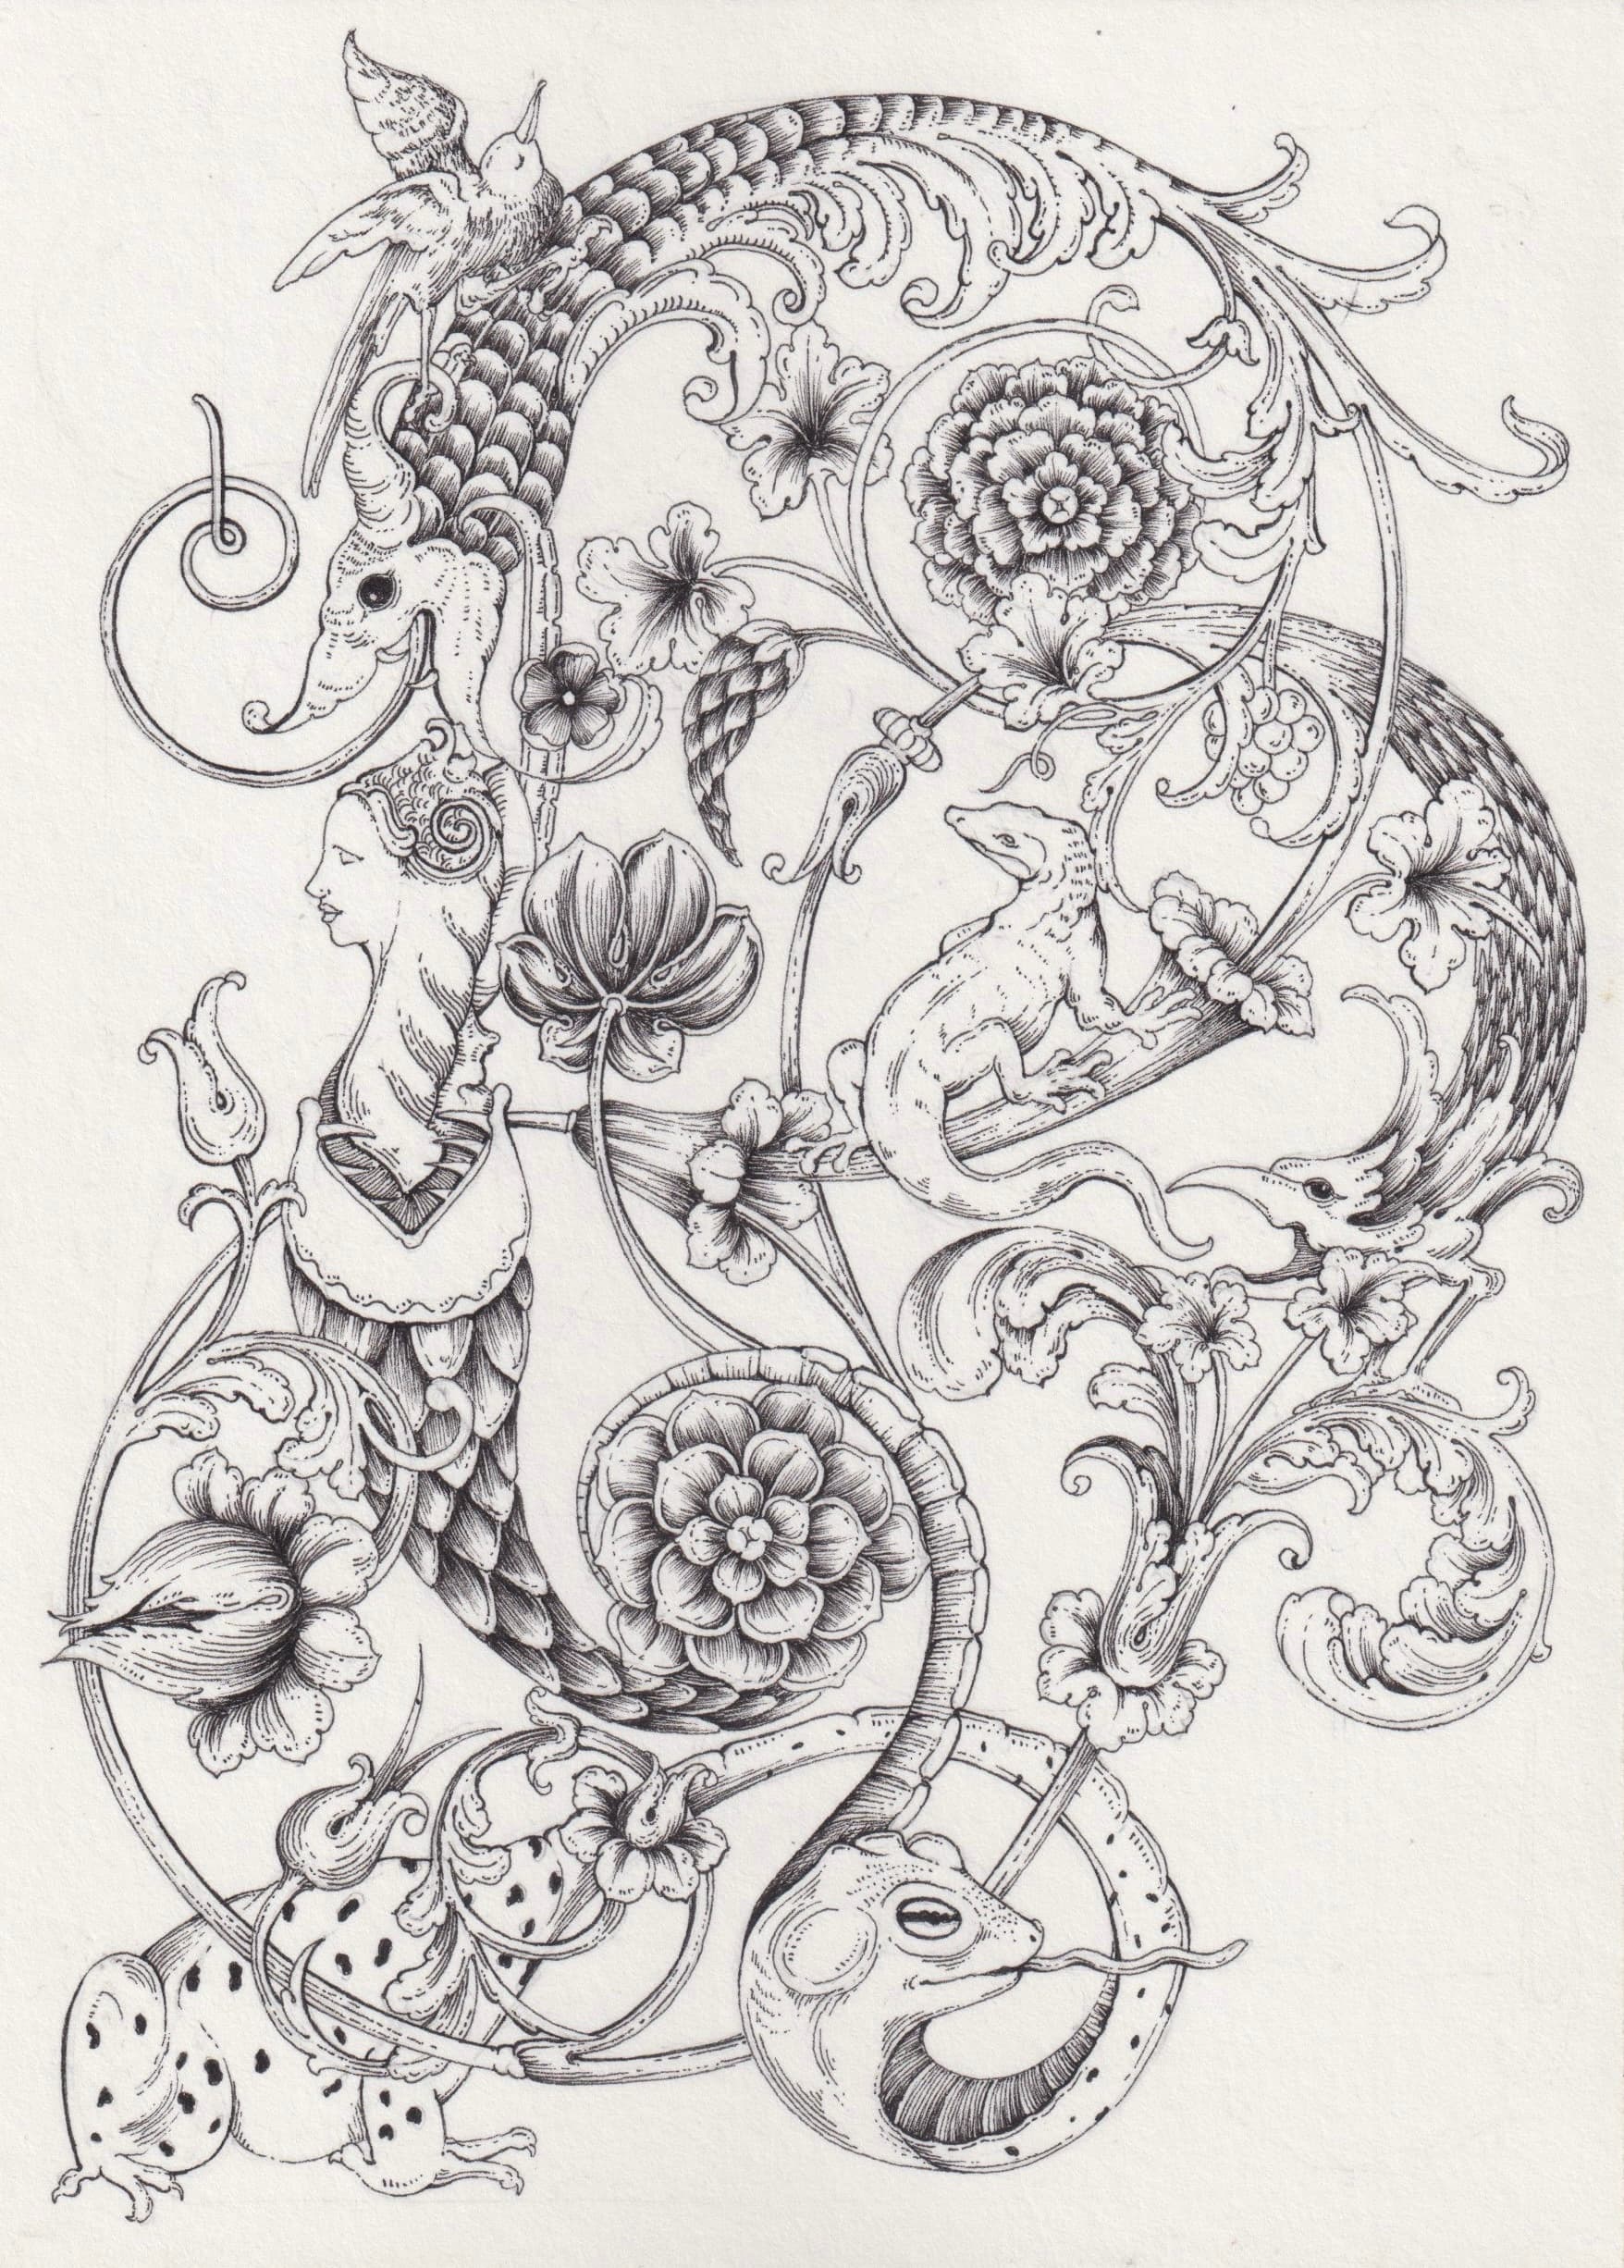
Even well sized, handmade paper is rough. As I explain in the best pens and paper for ink drawing beginners, rough paper breaks a long stroke into a furry one and wears a fineliner tip, and fine hatching stutters over the bumps. Work with the surface instead. Use bolder outlines with a 0.5 or 0.8, and the weighted outline from pen and ink shading techniques for botanical art, heavier on the shadow side, rather than close hatching. Stippling copes well. Loose leaves, simple borders and single flowers suit these sheets better than tight detail. Keep washes simple, use pigment ink, and give it at least fifteen minutes to dry before a wash goes over it.
Keeping a deckle edge, or making one
A deckle edge is the soft, feathered edge of a handmade sheet, formed where a little pulp seeps under the deckle frame as the water drains. It is the thinnest part of the sheet. Do not trim it, brush out over it rather than pushing in against it, and support the sheet when you dip.
If you have cut a sheet down, you can make one. Fold where you want the edge, crease firmly, lay a metal ruler along the crease and tear upwards against it. For a softer edge, run a line of clean water along the fold with a brush, wait a few seconds, tear gently and tease the wet fibres out with your fingertips. Dry it flat.
Common mistakes, and how to fix them
- The sheets glued themselves to the blotters. They were pressed while the size was wet. Dry each sheet separately, wait two or three days, and use baking parchment against the sheet.
- Watercolour beads up and the sheet shines. The size is too strong. Drop to 2% gelatin or thin the starch, and use two thin coats.
- The size went on in lumps and streaks. Gelatin began to set, or starch was not sieved. Keep the bowl in warm water, brush one way, sieve every time.
- A pigment fineliner line still feathers. The sheet is undersized, or the ink is dye-based. Check the barrel says pigment, then add a thin second coat.
Where the drawing and painting come in
Basics of Pen & Ink is a beginner course on choosing tools, controlling your hand, building texture slowly and understanding how ink behaves on paper, with botanical textures, ink wash and a small finished piece at the end.
For colour, Watercolour Lily Flower builds a lily through transparent layers, with attention to softness, form and subtle colour changes. Both are part of the OB Art Circle. Watercolour Ornamental Border is a separate workshop, gentle enough for beginners, where you prepare a border design, choose a simple palette and paint floral and acanthus details. Both watercolour workshops list watercolour paper in their materials, so learn on shop-bought sheets, then bring it back to your own.
A few questions I often get
Can you use watercolour on handmade paper?
Yes, if the sheet is sized and reasonably thick. On an unsized sheet watercolour spreads into the fibres and dries soft and blurred, lovely for loose backgrounds but hard to control. Size it and test a swatch first.
Why does ink bleed on some paper?
The fibres are absorbent and nothing is slowing them down. Cellulose pulls wet ink along each fibre by capillary action, so the line spreads before it dries. Unsized paper, wet inks such as dip pen and fountain pen inks, and humid weather all make it worse.
Do I need to size paper for pencil or pen?
Not for pencil, which is dry and does not feather, although a light size helps a soft sheet survive erasing. For pen it depends on the ink: a pigment fineliner may feather only slightly, but dip pen and fountain pen inks usually need a sized surface.
What is the difference between internal and external sizing?
Internal sizing goes into the pulp before sheets are made, so the whole batch is sized evenly. External sizing is brushed or dipped onto dry sheets afterwards: more work and pressing, but each sheet can be sized differently. Some papermakers use both.
Comments
Loading…