How to Make Paper Look Old with Tea or Coffee (and When to Ink It)
To make paper look old, brush or soak it in strong black tea or coffee, let the colour settle unevenly, then dry it flat under weights or leave it gently wavy. Crumple the sheet before it gets wet for dark creases, and tear the edges rather than cutting them. The part most tutorials skip is what happens to a drawing: whether the ink goes on before the stain or after, which inks survive a wet wash, and why an aged sheet makes such a good ground for a small ornament in sepia or black.
For four or five sheets you need three black tea bags or two heaped teaspoons of instant coffee, about 250ml of just-boiled water, a shallow baking tray, a soft flat brush 2 to 3cm wide, kitchen paper, and clean scrap paper for pressing. Allow ten minutes to brew, twenty to stain, then anything from two hours to overnight for drying.
Tea or coffee: which makes paper look older?
Both work, and strength matters more than which you choose. Black tea gives a golden to amber tone, like the margins of a book that has sat on a shelf for decades. Coffee sits browner and a little greyer, closer to a letter handled for years. Green and herbal teas give paler, greener results, so use ordinary black tea bags.
Coffee is blotchier. Where it pools it dries with a darker rim, a tide line, and those rims are often what makes a sheet look aged rather than simply coloured. Tea spreads more evenly. For a pale sheet, one tea bag in 250ml is plenty. For a deep antique brown, use four or five bags and leave them in while it cools.
How to age paper with tea or coffee, step by step
Step 1: Pick paper that can take a soaking
Printer paper, around 80gsm, stains well but cockles into ridges the moment it is wet and tears if you lift it carelessly. Brush it rather than dunk it, and slide a board underneath to move it. Cartridge paper of 120 to 160gsm copes with brushing and a quick dip. If you plan to draw on the sheet, or want to soak it properly, use 300gsm watercolour paper, which stays whole when soaked. Handmade paper stains readily too; see 13 ways of making handmade paper at home.
Step 2: Brew it strong, then let it cool
Steep the tea bags for at least ten minutes, or stir the coffee granules until they dissolve. Lift the bags out, keeping one to dab with. Let the liquid cool until it is comfortable to touch. If children are helping, let it cool completely before they go near the tray.
Step 3: Crumple and tear before the sheet gets wet
Squeeze the sheet into a loose ball, open it out and smooth it roughly. The broken fibres along each fold take up more liquid and dry as darker lines. Leave any area you mean to draw on uncrumpled, because a pen skips across a sharp fold and ink pools in it.
Torn edges look older than cut ones. On thin paper, tear slowly, pulling the waste side towards you so the kept edge shows a soft fringe. On heavier paper, fold along the line, run a damp brush along the crease, wait a minute, then pull the halves gently apart.
Step 4: Brush, dunk or spray the colour on
Lay the sheet on the tray. To brush, work across in loose strokes, going over some areas twice so the tone varies. To dunk, pour the liquid into the tray, leave the sheet for two to five minutes, turning it once, then lift it by two corners and let it drain. To spray, strain the tea into a clean fine-mist bottle and mist from about 30cm for a speckled, foxed look. Coffee granules scattered on the wet surface dissolve into dark freckles.
Blot pools that are bigger than you want, but leave some. Build darker areas with a second coat once the first has dried, rather than soaking longer.
Step 5: Dry it flat, or let it keep its waves
Lay the sheets on a rack or a clean towel, away from direct heat, until the surface no longer feels cool and damp. If you like the rippled look, stop there; it suits a prop letter or a treasure map.
For a sheet you will draw on, flatten it. While it is still slightly damp, put it between clean scrap paper under heavy books, and check after a few hours, swapping the scrap if it feels damp. Or press it with a dry iron on a low setting, steam off, between scrap sheets so no colour reaches the ironing board. Keep the iron moving.
A studio note: before you stain a batch, tear a 3cm strip from one sheet and stain it with the rest, then write the paper and the brew on the back in pencil. That strip becomes the scrap you test your pen on later, and it tells you honestly what the batch will do.
How to age paper in the oven, safely
The oven only dries a stained sheet faster and leaves it a little crisper; it will not make clean paper look old by itself. Use the lowest setting, no hotter than about 100°C (200°F), turn the fan off if you can, and never use the grill. Put the damp sheet on a baking tray on the middle shelf and stay in front of the oven, checking every minute. A thin sheet is usually dry in about five minutes; a soaked heavy one takes longer. Take it out with oven gloves as soon as it is dry to the touch. Left longer, paper turns brittle and can scorch, and paper can catch fire in an oven. Never leave it unattended, and an adult should do this part.
Burnt edges, and ageing paper without coffee
Singed edges are the one part of this craft with real risk. If you do it, work outdoors or over an empty sink with a bowl of water to hand, one sheet at a time, well away from the drying stack. Touch the very edge to a candle flame for a moment only, then press it out with a damp cloth. This is never a job for children. A safer look that reads almost as well: tear the edge, then brush very strong coffee along just the rim.
No coffee? Tea alone does the job. A very dilute wash of brown watercolour, raw sienna with a touch of burnt umber, gives a warm, even tone on watercolour paper, and you can choose lightfast pigments. For edges only, rub a little brown soft pastel into the rim with a tissue, or sponge a brown ink pad from the edges inwards.
Should you ink before staining, or after?
Either order can work, but they fail in different ways.
Step 6: If the drawing comes first, use pigment ink and give it time
Draw with a pigment ink fineliner or waterproof drawing ink, and read the barrel. As I wrote in my guide to pens and paper for ink drawing, pigment ink is waterproof once fully dry and needs at least fifteen minutes before any wash, longer in humid weather. Before a wet stain, more time is kinder; leaving it overnight costs nothing. Rub out pencil guidelines first, because erasing on a dried stain tends to scuff the surface and leave a pale patch.
Then brush the stain on in one loose pass; do not dunk or scrub, and never rub a tea bag across ink, because wet friction can disturb even pigment lines on smooth paper. Dye-based fineliners, most fountain pen inks, felt-tips and many gel pens will run into soft halos. If unsure, brush tea over a few strokes on your test strip first.
Step 7: If the stain comes first, test the pen on the same sheet
Staining first is safer for the drawing, but the paper changes. Wetting can soften the surface sizing that stops ink spreading, and the fibres lift slightly as they dry, so a stained sheet is usually softer and more absorbent. Lines can feather, a fine nib can catch, and ink gathers in creases.
Let the sheet dry completely and press it flat, ideally drawing a day later. Test your exact pen on the strip stained with the batch. If lines spread, use lighter pressure and a slightly quicker stroke, or a pen that lays down less ink.
Common mistakes, and how to fix them
- The sheet looks evenly beige, not old. Uniform colour reads as tinted paper. Add a second, patchier coat, let some pools dry with their rims, and darken the edges and creases more than the middle.
- Printer paper tore or dried in hard ridges. It was too wet for too long. Brush thin paper instead of soaking it, move it on a board, and press it while slightly damp.
- The ink ran into a halo. It was dye-based, or not dry yet. Redraw with pigment ink, wait, and brush the tea over rather than dunking.
- The paper smells musty a week later. It was stacked or pressed while still damp. Throw it away, and dry every sheet right through next time.
A warm ground for a small ink ornament
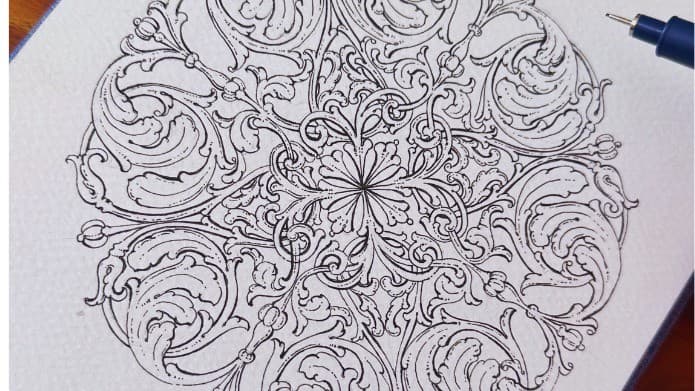
A stained sheet changes how a drawing sits. Black ink on bright white can look stark; on a warm amber ground the same line softens, and a small motif begins to look like a plate from an old pattern book. Sepia ink pushes that further. Keep it small: rule a double frame about 1.5cm in from the torn edge and put a single rosette in the middle. How to draw a floral rosette walks through the construction, from light circle guides to a wheel of equal segments with one petal shape repeated around it.
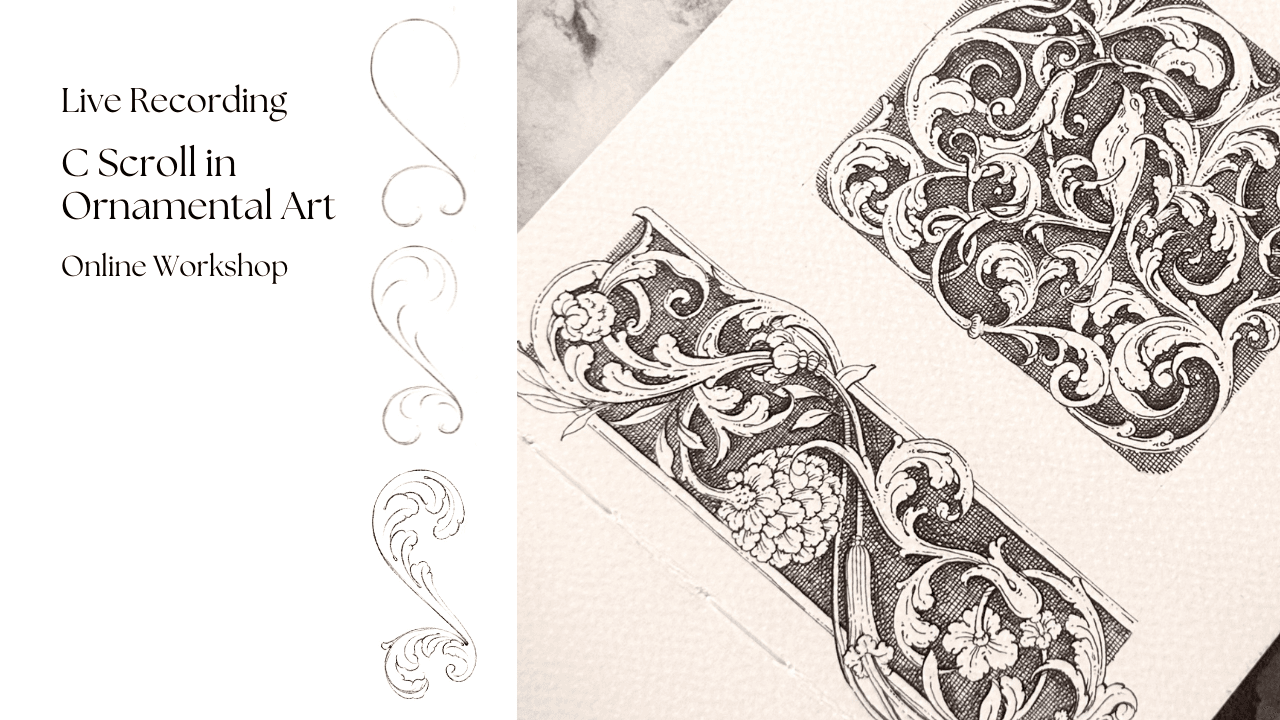
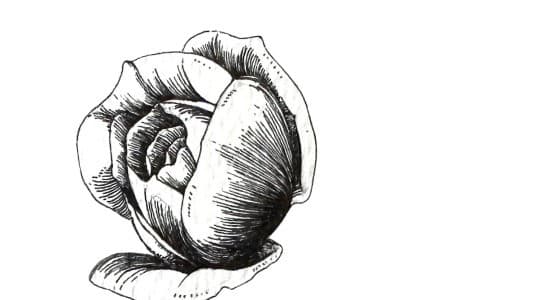
If the drawing is what you want to improve, two courses fit, though neither is about ageing paper. Basics of Pen & Ink is a beginner course on choosing tools, controlling your hand, building texture slowly and understanding how ink behaves on paper, including ink wash, ending in a small finished piece. Floral Rosette in Ornamental Art shows how to build a rosette from a circular structure: dividing the circle, creating petal rhythm, and refining it until it feels balanced and useful in larger designs.
A few questions I often get
Can you tea stain paper after writing or drawing on it?
Yes, if the ink is waterproof and completely dry. Pigment fineliners, waterproof drawing inks, laser prints and graphite generally survive a brushed stain; dye-based pens, most fountain pen inks and inkjet prints usually run. Erase pencil first, brush rather than dunk, and test the same pen on a scrap.
Does coffee or tea stain paper better?
Neither is better; they look different. Black tea gives a more even golden tone. Coffee gives a browner colour with darker rims where it pools, which often looks more convincingly old. They combine well: a tea base coat, then coffee spots and edges once it has dried.
How long does tea-stained paper take to dry?
A brushed sheet of printer paper usually dries in one to two hours at room temperature. Soaked heavy watercolour paper can take most of a day, longer in damp weather. Before storing it, check there are no cool, damp patches.
Does tea-stained paper go mouldy?
It can. Tea and coffee are organic, and paper kept damp in a stack, drawer or sealed bag gives mould what it needs. Dry every sheet completely, front and back, and store them flat somewhere dry and airy. Tea also leaves paper more acidic, so treat stained sheets as a craft surface rather than an archival one.
Comments
Loading…