Ornamental Florals: Basic
75 reviews across the courses here, averaging 4.9 out of 5.
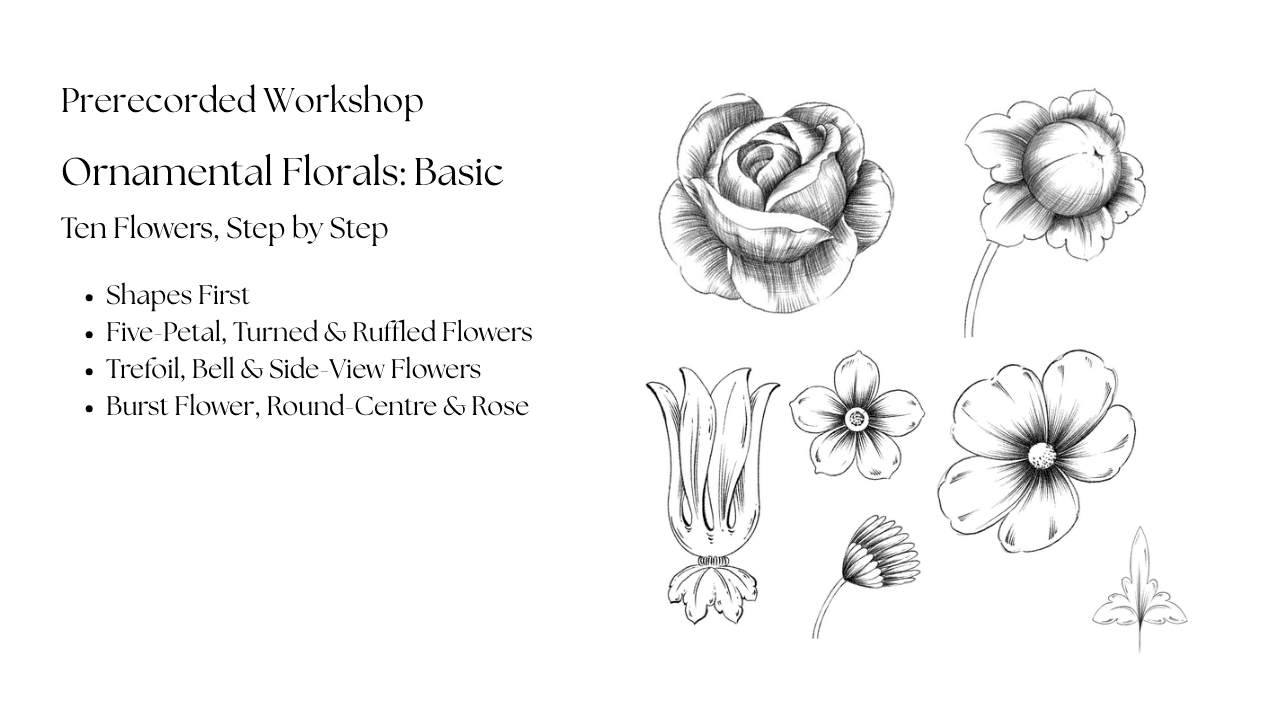
Build ten ornamental flowers, each from one simple shape, step by step, and shade them with simple hatching, so you can design flowers of your own.
Secure checkout via PayPal
Also included in the OB Art Circle membership, from $19/month.
What you'll learn
- Start every flower from the right shape: circle, ellipse, triangle, rectangle, dome or curved stem line
- Draw ten ornamental flowers step by step, from guide shapes to a clean outline
- Divide a circle into even petals, and turn a flower by drawing it on an ellipse
- Build a rose on a grid, petal by petal, in numbered order
- Shade petals and round centres with simple, evenly spaced hatching
- Know which idea to check when a flower of your own goes wrong
What you will work through
Most people start drawing flowers by copying a real one. The petals come out uneven, the flower looks flat, and it never sits comfortably beside a scroll or a leaf. The problem is rarely your hand. A flower in ornamental art is not copied from nature. It is built, from a simple shape, in a few clear steps.
That method is what this workshop teaches. We begin with what an ornamental flower actually is, and why it is simplified into clean shapes and clear lines rather than copied from life: a simple, clear flower is easy to repeat and easy to place, and ornament needs both. Then we look at the six starting points used throughout: the circle, the ellipse, the triangle, the rectangle, the dome and the curved stem line. Each one decides how the flower is seen, from the front, turned, upright or from the side. Choose the shape first and the petals have somewhere to go, so you stop guessing where each one belongs.
Then we draw the flowers one at a time, each in clear stages from guide shapes to a clean outline. The five-petal flower teaches you to divide a circle into equal petals, and the turned flower shows how a circle becomes an ellipse. Then come the ruffled flower with its frilled petals, the trefoil built inside a triangle, the upright bell flower, and the side-view bloom, where every petal starts from one point on the stem. Each flower teaches one idea that carries over to the next: even spacing, tilt, frills, symmetry, flare and one meeting point. So when a flower of your own goes wrong, you will know which idea to check.
After that we move to the fuller flowers: the burst flower that opens outward from one point, the round-centre flower with its frilled petals, and the rose, built on a grid and a tilted line with its petals drawn in numbered order. The rose is the most detailed flower in the workshop, so we take it slowly, one step at a time. If a rose looks wrong, the problem is almost always in the first petals. A simple leaf sprig gives your flowers some foliage to go with them.
Finally we shade every flower with simple hatching: lines drawn from the centre outward, evenly spaced, with the petal edges left light so each petal stands out, and a round centre shaded so it looks like a ball. Shading comes last, and lightly at first, because you can always add more lines but you cannot take them away.
By the end you will be able to draw ten ornamental flowers, from the front, turned, upright and from the side, add a leaf sprig to go with them, and shade them with simple hatching. More than that, you will stop copying flowers and start building them. A flower in ornament does not need to be complicated to look beautiful. A clean outline, an even rhythm of petals and a little careful shading will always do more than a crowded drawing, and these shapes are the starting point for every flower you design from here on.
Best for
- Students new to flowers in ornamental art
- Artists who already draw acanthus and scrolls and want flowers that match them
- Anyone whose flowers look uneven, flat or too complicated
- Artists interested in ornamental drawing, botanical illustration, engraving-inspired design, decorative borders or pen-and-ink work
Requirements
- Comfortable drawing a simple line and a simple curve
- No earlier knowledge of ornament needed
Materials
- Pencil
- Eraser
- Fineliner or ink pen
- Drawing paper or a sketchbook, A4 or larger
4 lessons · 54m
- 01Introduction2m Preview
- 02Five-Petal Florals15m Locked
- 03Bell Flower and Side-View Bloom19m Locked
- 04Round-Centre and Rose Florals19m Locked
- Ornamental Florals Basic ManualLocked
Anjali Singh

Anjali Singh is the artist behind Ooshybooshy, specialising in floral, ornamental and acanthus art. 301 students have enrolled in her courses, and she teaches inside the OB Art Circle too, taking people from first strokes to confident, balanced ornamental compositions and sharing her process for structure, references, composition and intricate detailing. More about Anjali.
Reviews
No one has reviewed this course yet. What can be said is the rest: 301 people have enrolled in a course here, and the 75 reviews left on the other courses average 4.9 out of 5.
Yours could be the first review on it.
Questions, answered
Should I buy this course once, or subscribe?+
Both work. A one-time purchase gives you lifetime access to this course, yours to revisit forever. An OB Art Circle membership instead opens this course and every other included course to you, for as long as your subscription stays active.
What materials do I need?+
Each lesson lists what to use. For most ornamental work a sketchbook, pencil, eraser and a fineliner pen are enough to begin.
Is this suitable for my level?+
Yes. It is made for beginners: it starts from the basics and every step is demonstrated slowly, so you can follow along without any earlier experience.
How do I pay?+
Outside India you pay in US dollars through PayPal, by card or with a PayPal account. In India you pay in rupees through Razorpay, by UPI, card or net banking. The currency is picked for you, and the INR and USD switch in the site header or menu changes it.
Where to go next
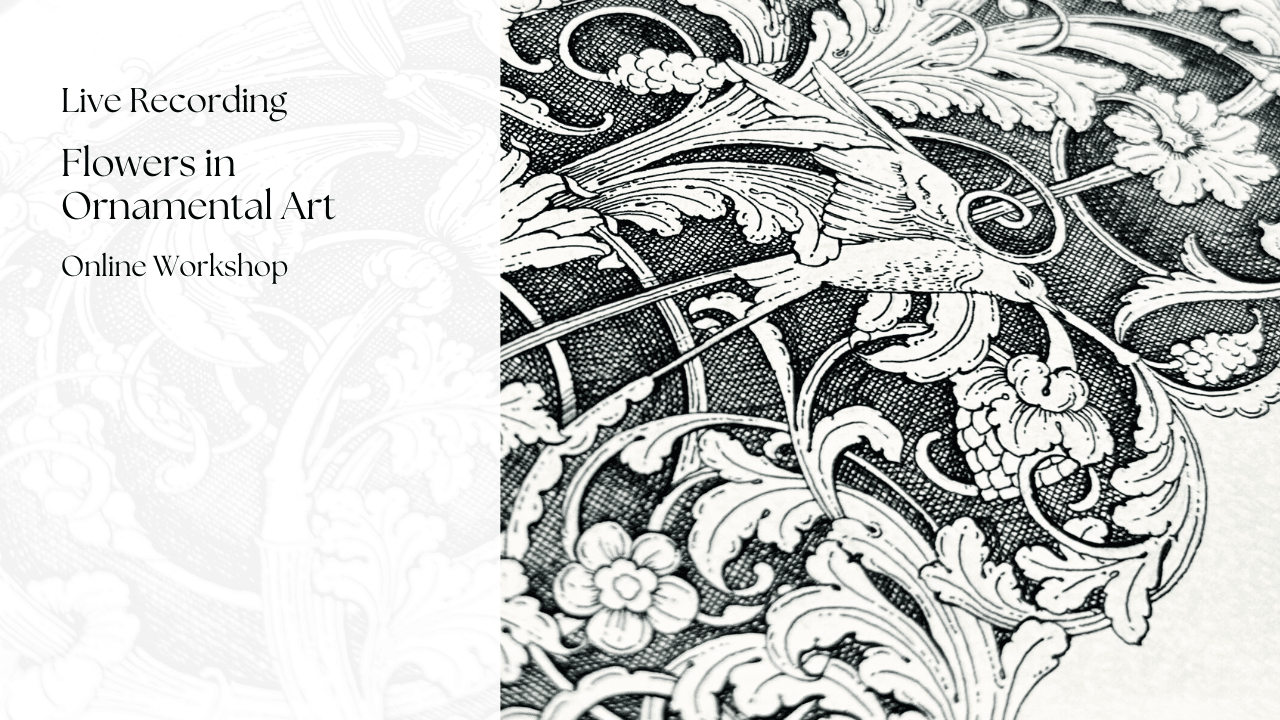
Flowers in Ornamental Art
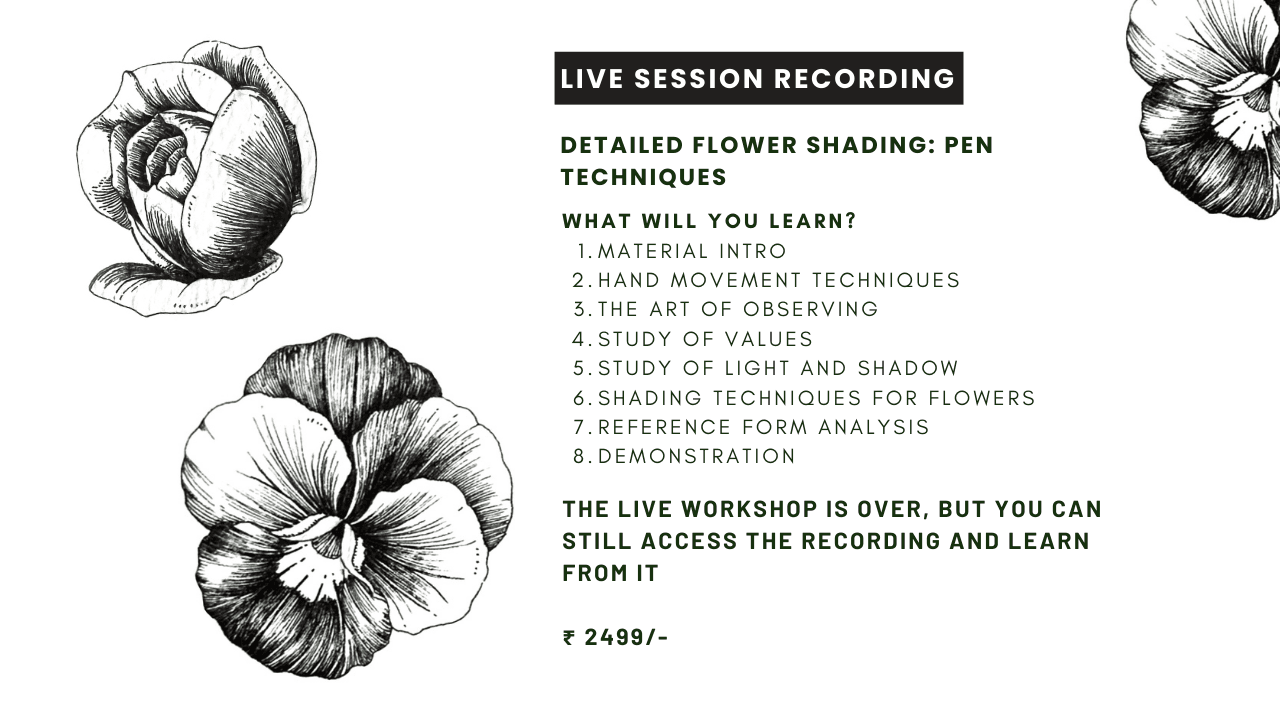
Detailed Flower Shading: Pen Techniques
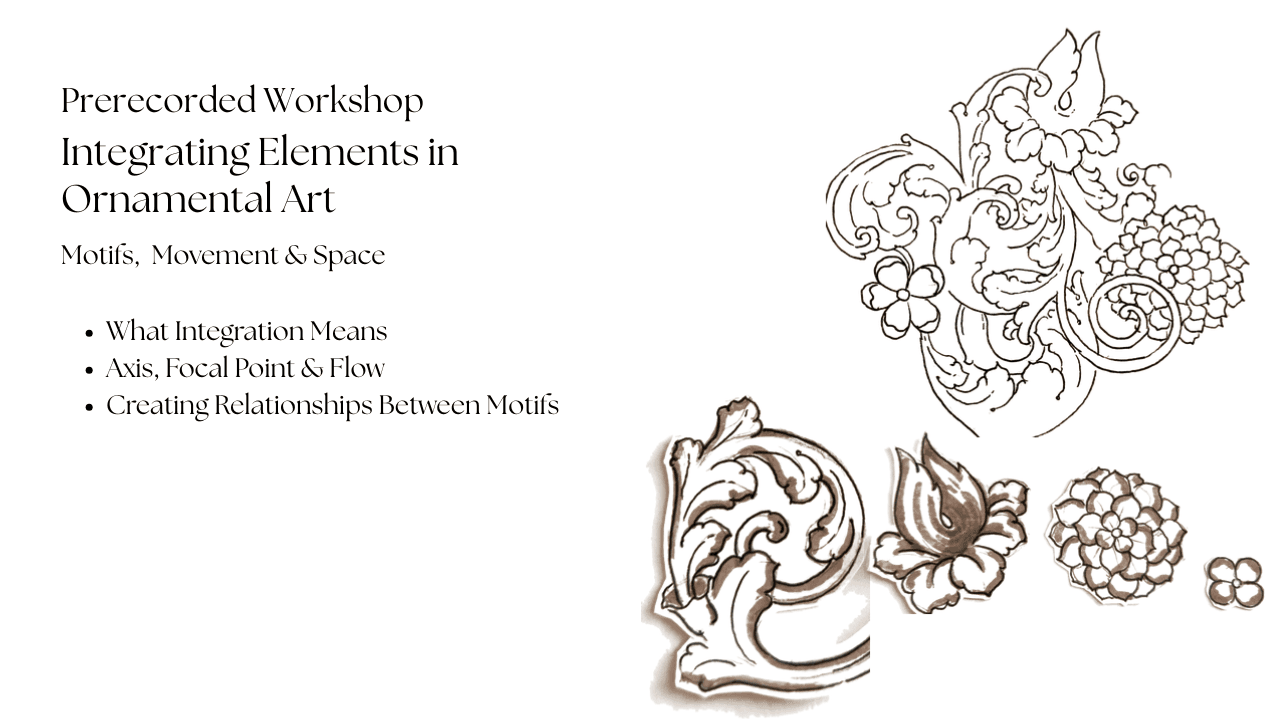
Integrating Elements in Ornamental Art
Would you like to try it before you buy? I have written a free step by step tutorial on the same motif: How to Draw a Floral Rosette.
Start learning today
Secure checkout via PayPal
Also included in the OB Art Circle membership.