Ornamental Border Design: Fundamentals
75 reviews across the courses here, averaging 4.9 out of 5.
Learn how ornamental borders work, from their history to six fundamentals, then draw a circular scroll, a flower, a running scroll border and two frames.
Secure checkout via PayPal
Also included in the OB Art Circle membership, from $19/month.
What you'll learn
- Recognise the main historical border styles, from the lotus bands of Egypt to the Victorian era
- Describe any border by its form, line, rhythm, weight, scale, movement and feeling
- Name the parts every border is made from: unit, repeat, mirror, focal motif, connector and corner motif
- Check a border against the six fundamentals: rhythm and repetition, balance, focal point, large and small, flow, and space
- Lay out a border with two parallel lines, a unit length, guide circles and centre lines
- Draw a circular scroll, a corner flower and one unit of a running scroll border
- Build a landscape frame and a portrait frame by drawing one half and mirroring it
- Spot the common faults that spoil a border, and fix each one
What you will work through
You have seen a beautiful border in an old book or on a carved wall, and you have tried to draw one of your own. The result wobbles. The units are not the same length, the scrolls pull in different directions, the corners look stuck on, and the whole thing feels either empty or crowded. You can copy a shape, but you cannot say why a good border works, so you cannot fix a bad one.
In this pre-recorded workshop I teach the ideas that sit behind every ornamental border, and then we put them to work. Watch at your own pace, and pause as often as you need. This is the first of two parts. The second, Ornamental Border Design: Process, shows how to plan and build a border of your own from a blank page.
We begin with history, a short tour of border styles with real examples from each age: the lotus and papyrus of Egypt, the meander and palmette of Greece, the scrolling leaves of Rome, the interlace of medieval manuscripts, the vines of the Gothic period, the symmetrical frames of the Renaissance, the curves of Baroque and Rococo and the simple bands of Neoclassicism, before the Victorian era brings many styles together. Seen side by side, they show how one idea, a repeating band, can feel bold, calm, rich or playful.
Then we learn to describe any border by its form, line, rhythm, weight, scale, movement and feeling, and to name the parts every border is made from: the unit, the repeat, the mirror, the focal motif, the connector and the corner motif. Once you can name the parts, a border is far easier to plan, draw and talk about.
Next come the six fundamentals, each shown on a real example: rhythm and repetition, balance, focal point, large and small, flow, and space. These are the checks you will use on every border from now on. When a border feels wrong and you cannot say why, the fault is almost always one of these six.
Before any ornament, we lay the border out. You set the width with two parallel lines, mark the unit length, draw the circles that hold the scrolls, and use centre lines and mirroring so that both halves match. Every guide is drawn lightly, because most of them will be erased.
Then we draw. First the circular scroll, two spirals inside a circle with leaves curling along them, and the flower used at the corners and centres of the frames, built from the centre outward. Then one unit of a running scroll border, its small, large and small circles joined by flowing lines. Finally we fit it all together into two complete frames: a landscape frame with flowers at the corners and scrolls between them, and a portrait frame with the flower repeated down the sides. In each frame you draw one half and mirror it, which keeps both sides equal.
We finish with practical tips, such as drawing lightly, starting with the focal point and testing the corner early, and with the common faults that spoil a border and how to fix each one.
By the end you will recognise the main historical border styles, describe any border by its form, line and rhythm, and check it against the six fundamentals. You will be able to lay out a border with a width, a unit length and centre lines, and draw a circular scroll, a flower, a running scroll border and two frames. More than that, you will stop copying shapes and start understanding them. A good border is not a more decorated border. Even rhythm, matching halves, one clear focal point and space to breathe will always do more than extra ornament, and these ideas are the foundation for the second part, where you plan and build a border of your own.
Best for
- Students who want to understand ornamental borders before designing their own
- Artists who admire old borders and want to know why they work
- Anyone whose borders wobble, with corners that look stuck on or spacing that feels empty or crowded
- Artists interested in ornamental drawing, calligraphy and lettering borders, engraving-inspired design, decorative frames or pen-and-ink work
Requirements
- Comfortable drawing simple curves and circles with a pencil
- No earlier workshop needed, though drawing scrolls and flowers beforehand will make the practice easier
Materials
- Pencil
- Eraser
- Fineliner or ink pen
- Drawing paper or a sketchbook, A4 or larger
- A compass or a round object for circles (helpful, not required)
6 lessons · 1h 29m
- 01Introduction2m Preview
- 02History of Ornamental Borders17m Locked
- 03Fundamentals of Ornamental Border Design15m Locked
- 04Border Layout4m Locked
- 05Border Elements17m Locked
- 06Simple Border Design36m Locked
- Ornamental Border Design Fundamentals ManualLocked
- Finished Portrait Frame (photo)Locked
Anjali Singh

Anjali Singh is the artist behind Ooshybooshy, specialising in floral, ornamental and acanthus art. 304 students have enrolled in her courses, and she teaches inside the OB Art Circle too, taking people from first strokes to confident, balanced ornamental compositions and sharing her process for structure, references, composition and intricate detailing. More about Anjali.
Reviews
No one has reviewed this course yet. What can be said is the rest: 304 people have enrolled in a course here, and the 75 reviews left on the other courses average 4.9 out of 5.
Yours could be the first review on it.
Questions, answered
Should I buy this course once, or subscribe?+
Both work. A one-time purchase gives you lifetime access to this course, yours to revisit forever. An OB Art Circle membership instead opens this course and every other included course to you, for as long as your subscription stays active.
What materials do I need?+
Each lesson lists what to use. For most ornamental work a sketchbook, pencil, eraser and a fineliner pen are enough to begin.
Is this suitable for my level?+
Yes. It is made for beginners: it starts from the basics and every step is demonstrated slowly, so you can follow along without any earlier experience.
How do I pay?+
Outside India you pay in US dollars through PayPal, by card or with a PayPal account. In India you pay in rupees through Razorpay, by UPI, card or net banking. The currency is picked for you, and the INR and USD switch in the site header or menu changes it.
Where to go next

Floral Rosette in Ornamental Art
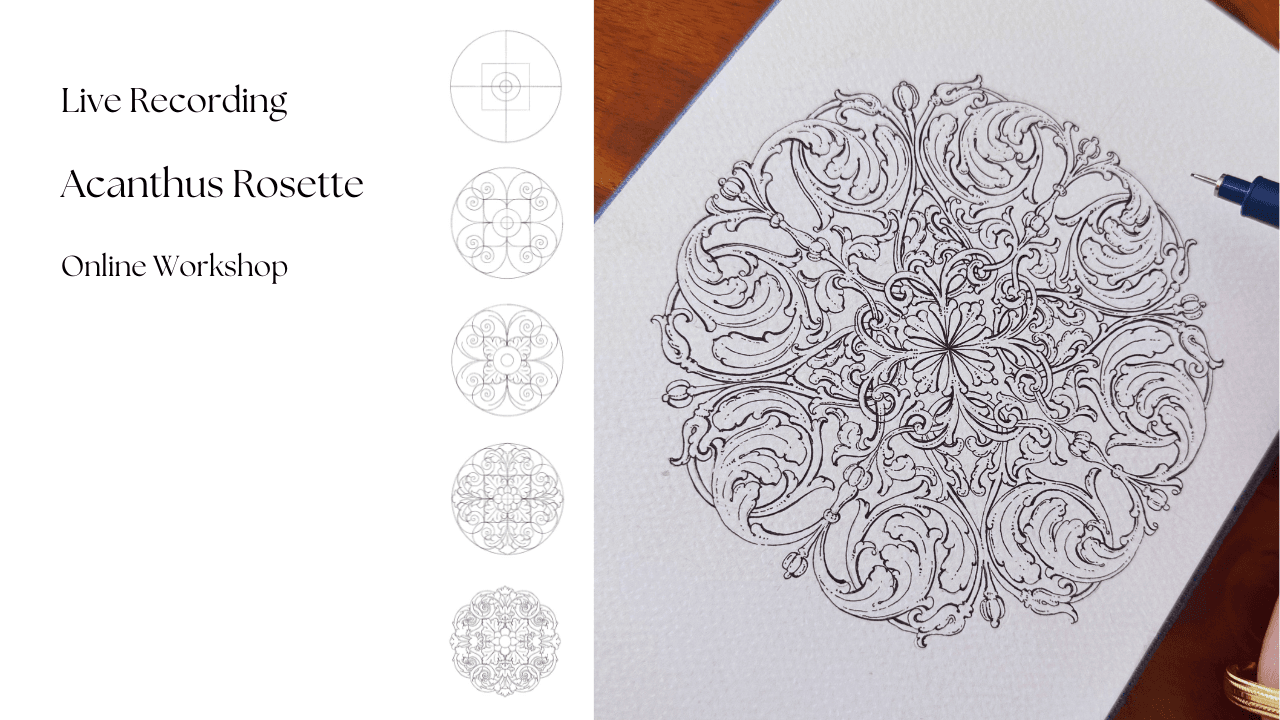
Acanthus Rosette in Ornamental Art
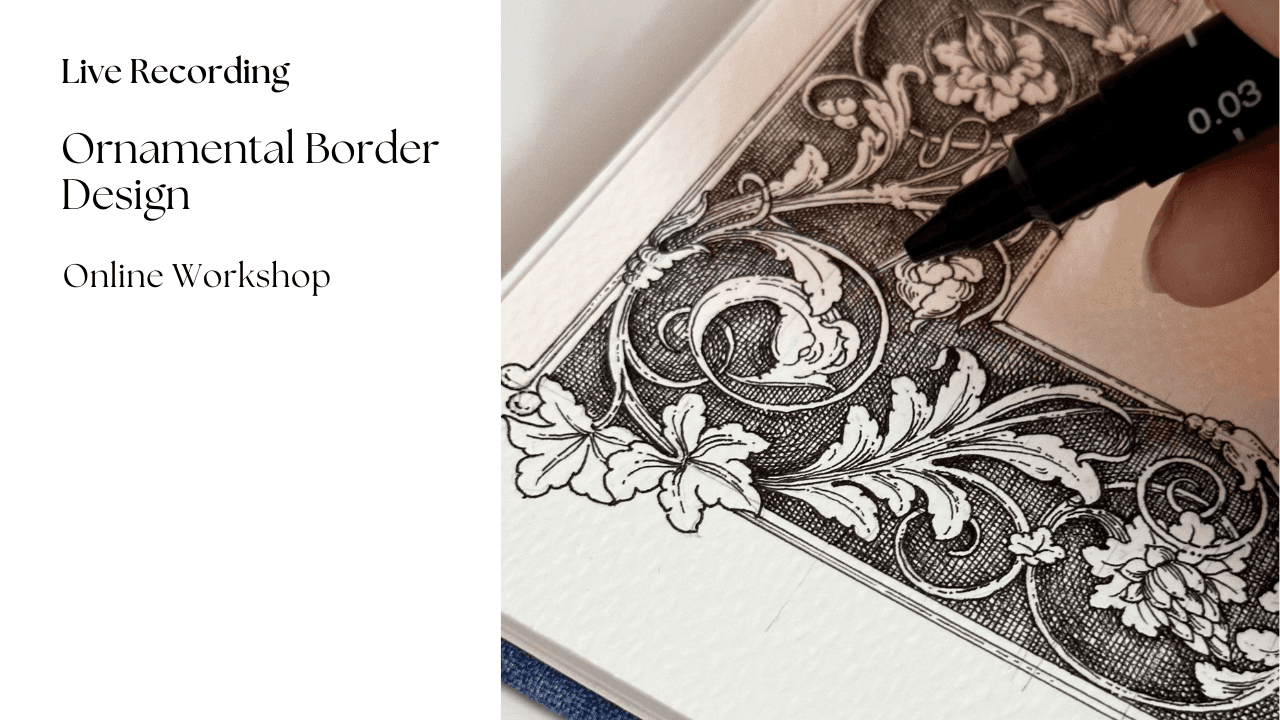
Decorative Border Design Course: Corners and Repeats
Would you like to try it before you buy? I have written a free step by step tutorial on the same motif: How to Draw an Ornamental Border, Corners and All.
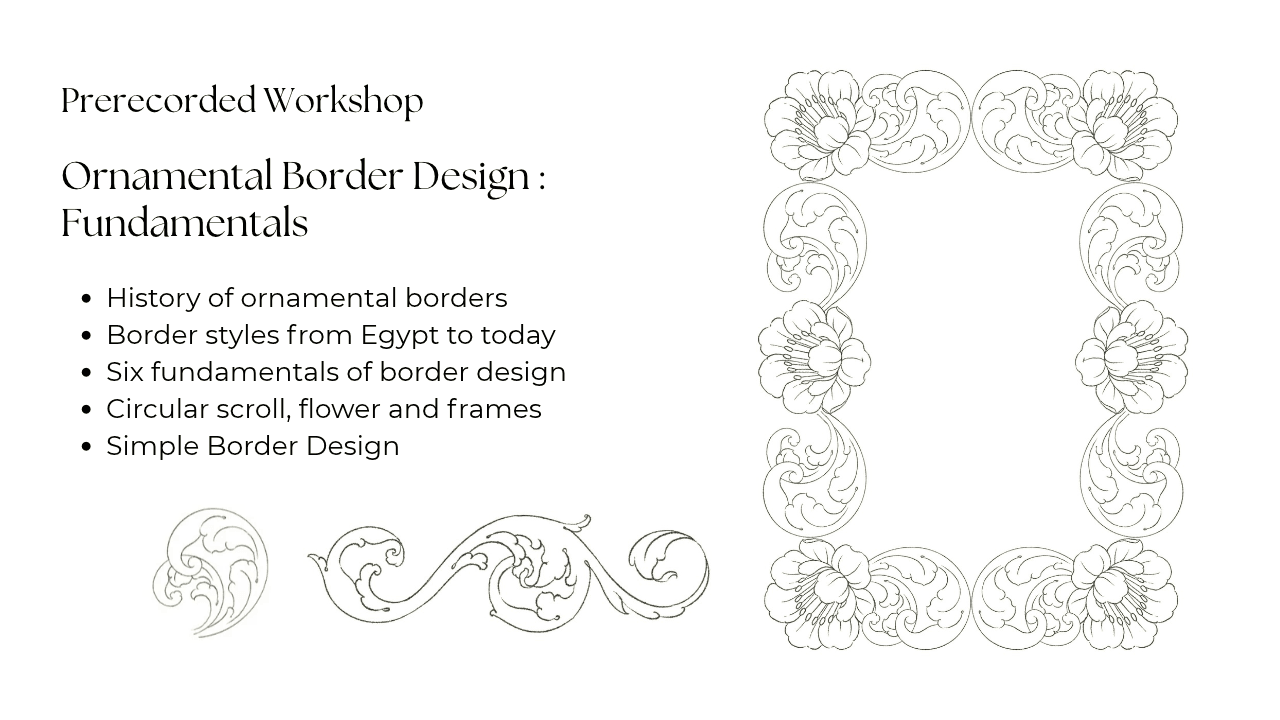
Start learning today
Secure checkout via PayPal
Also included in the OB Art Circle membership.